PROJECT LENGTH: 5 Weeks
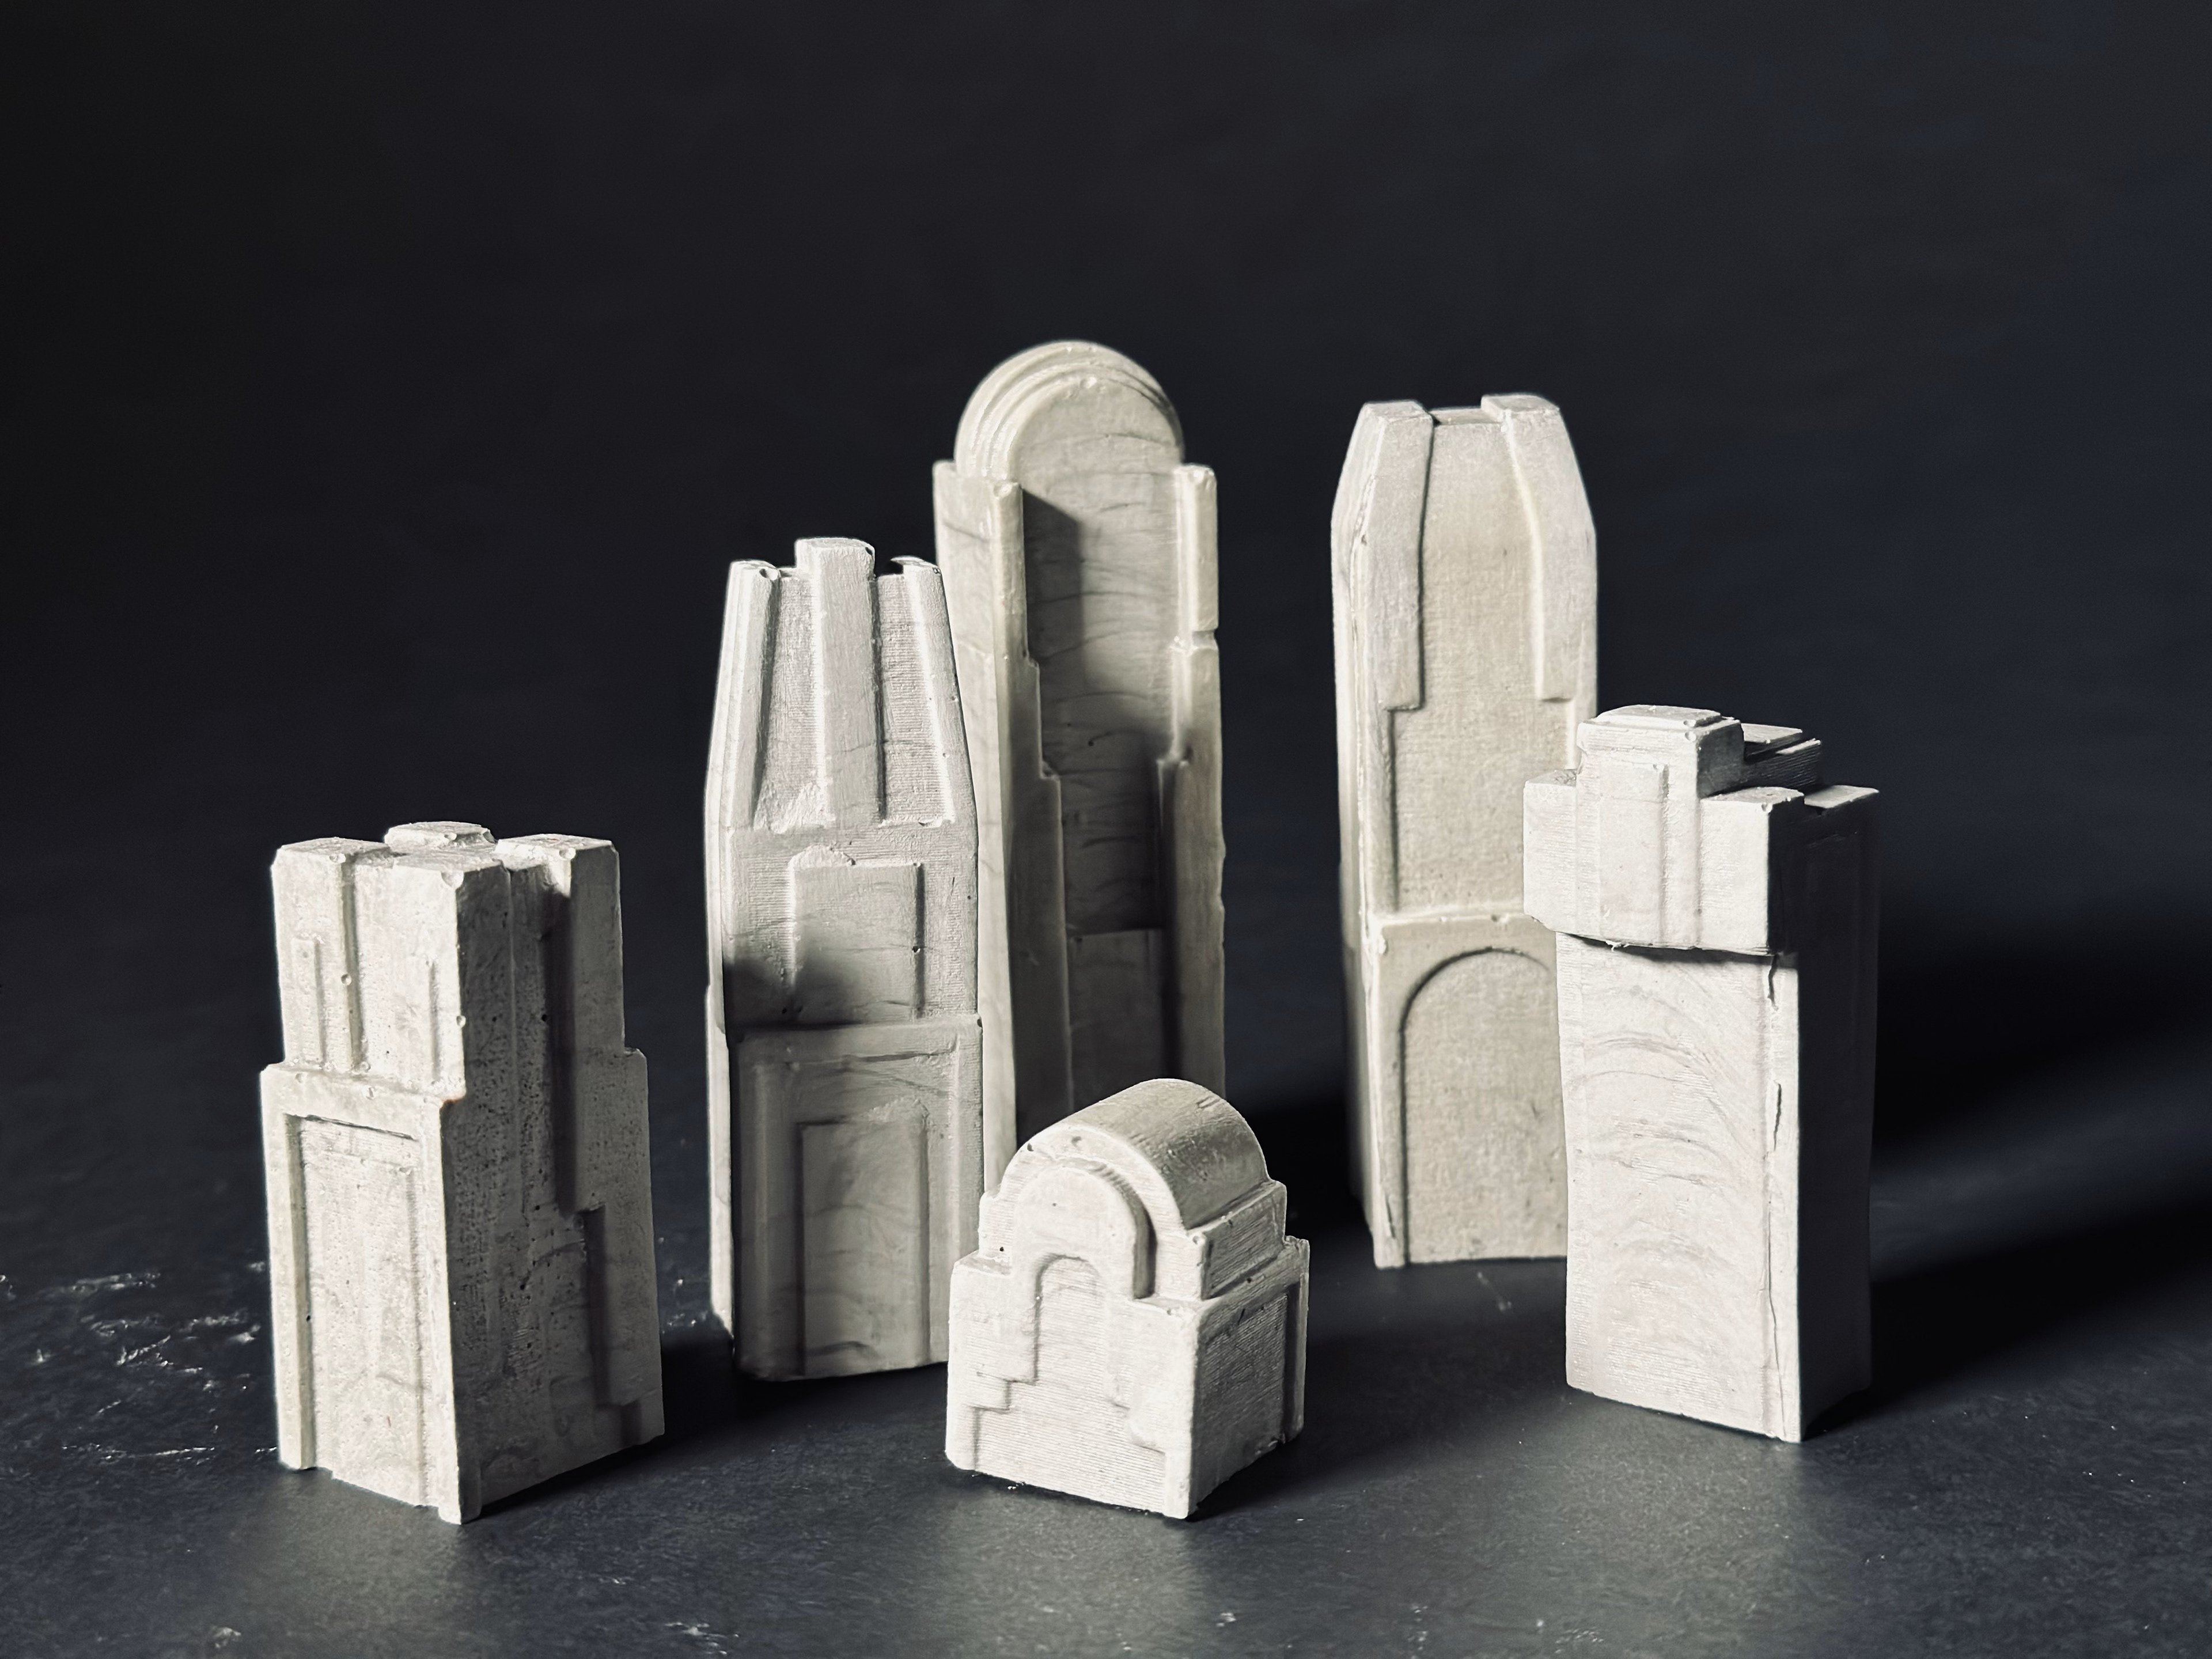
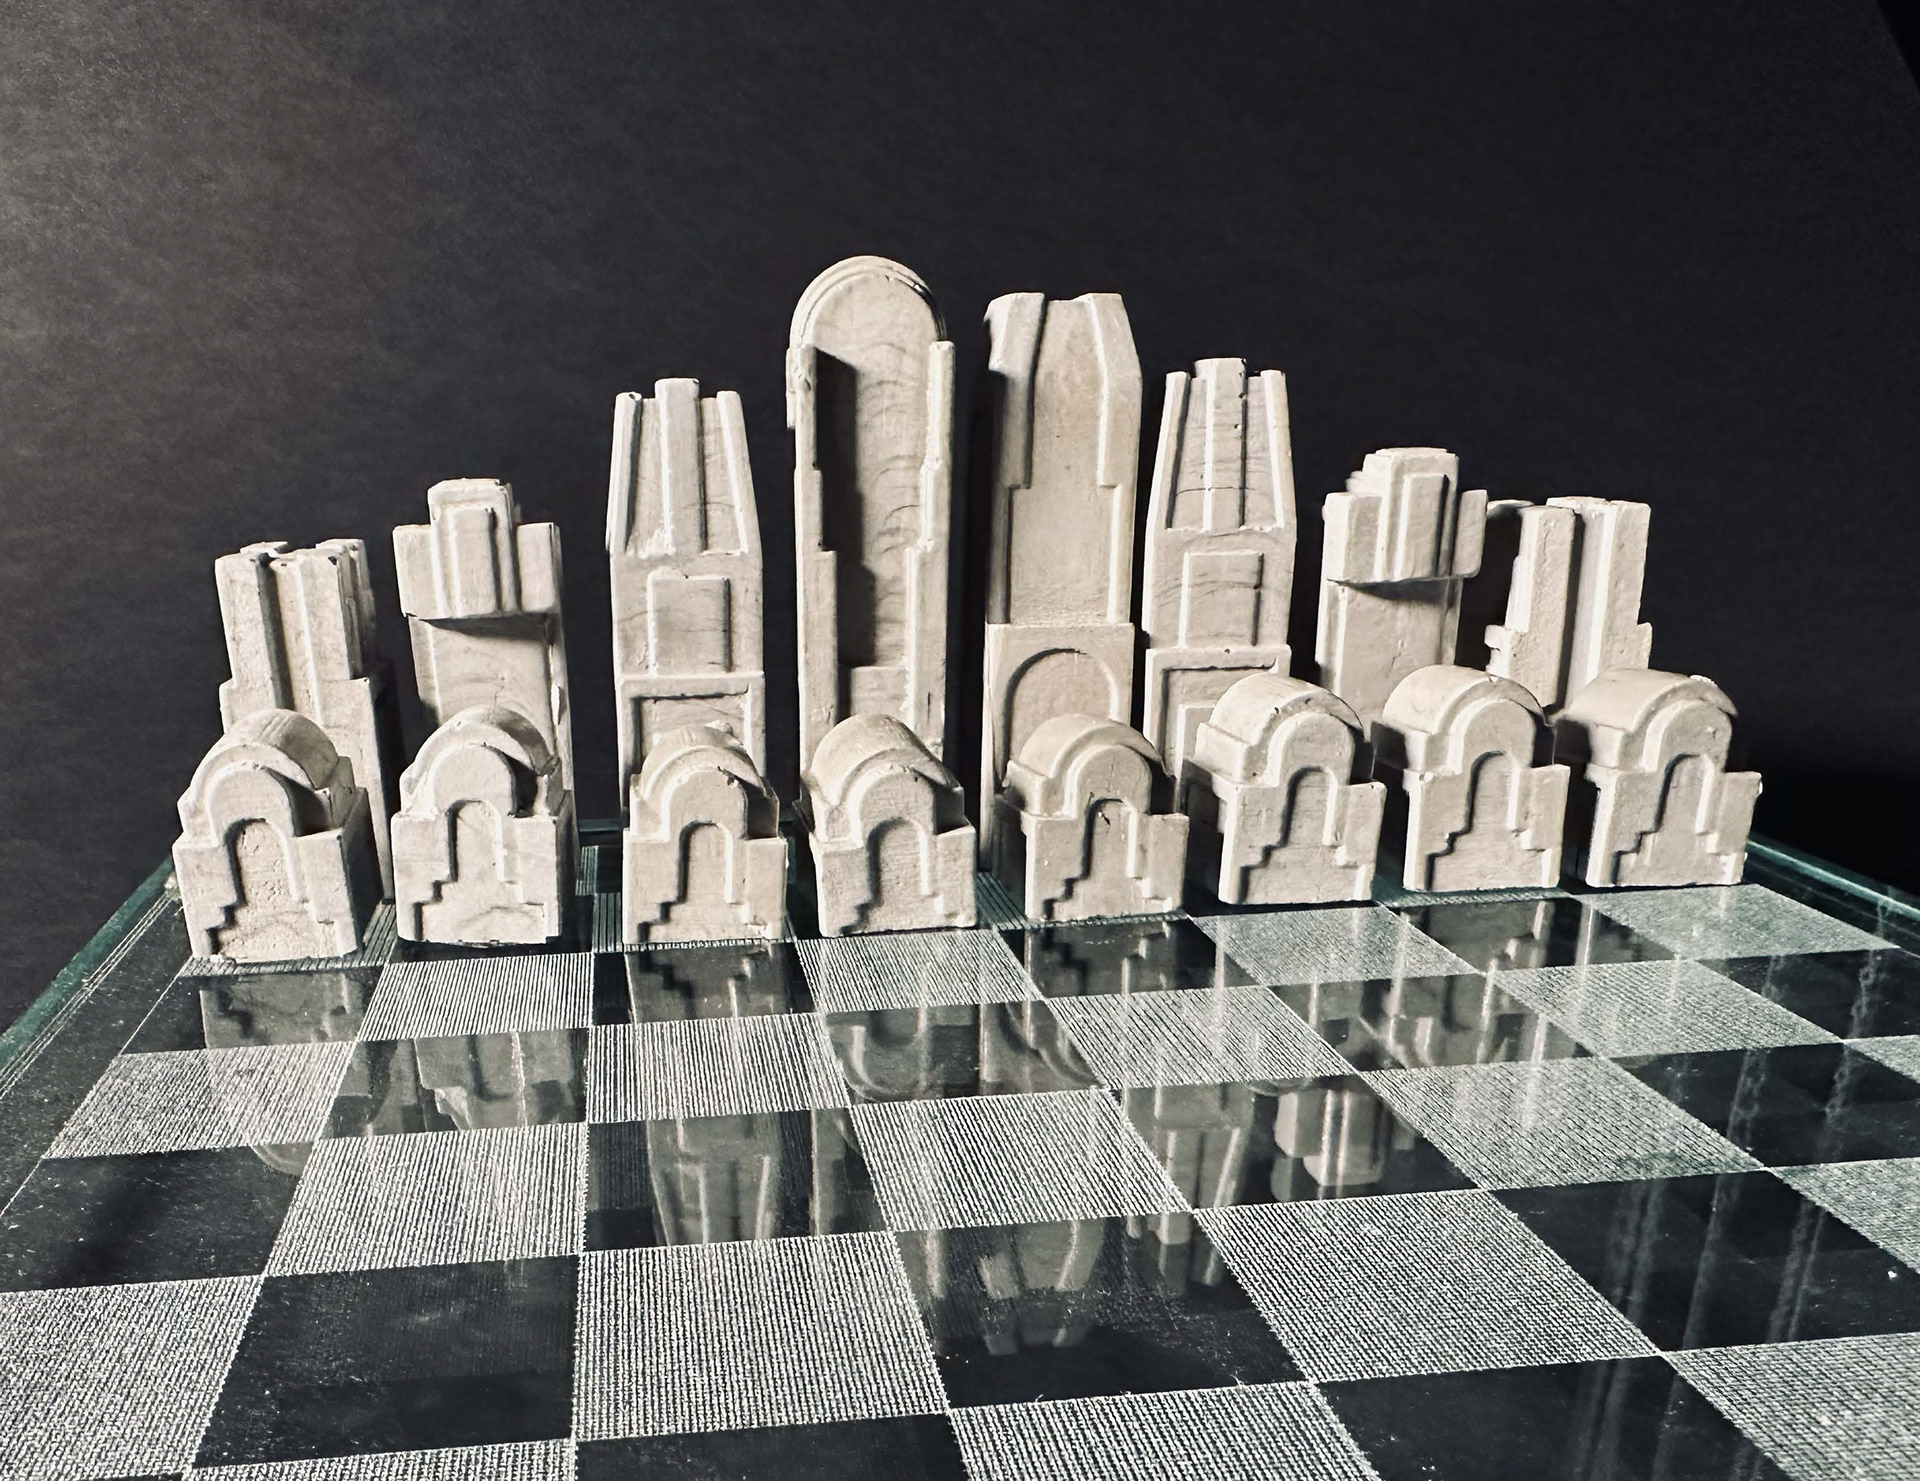
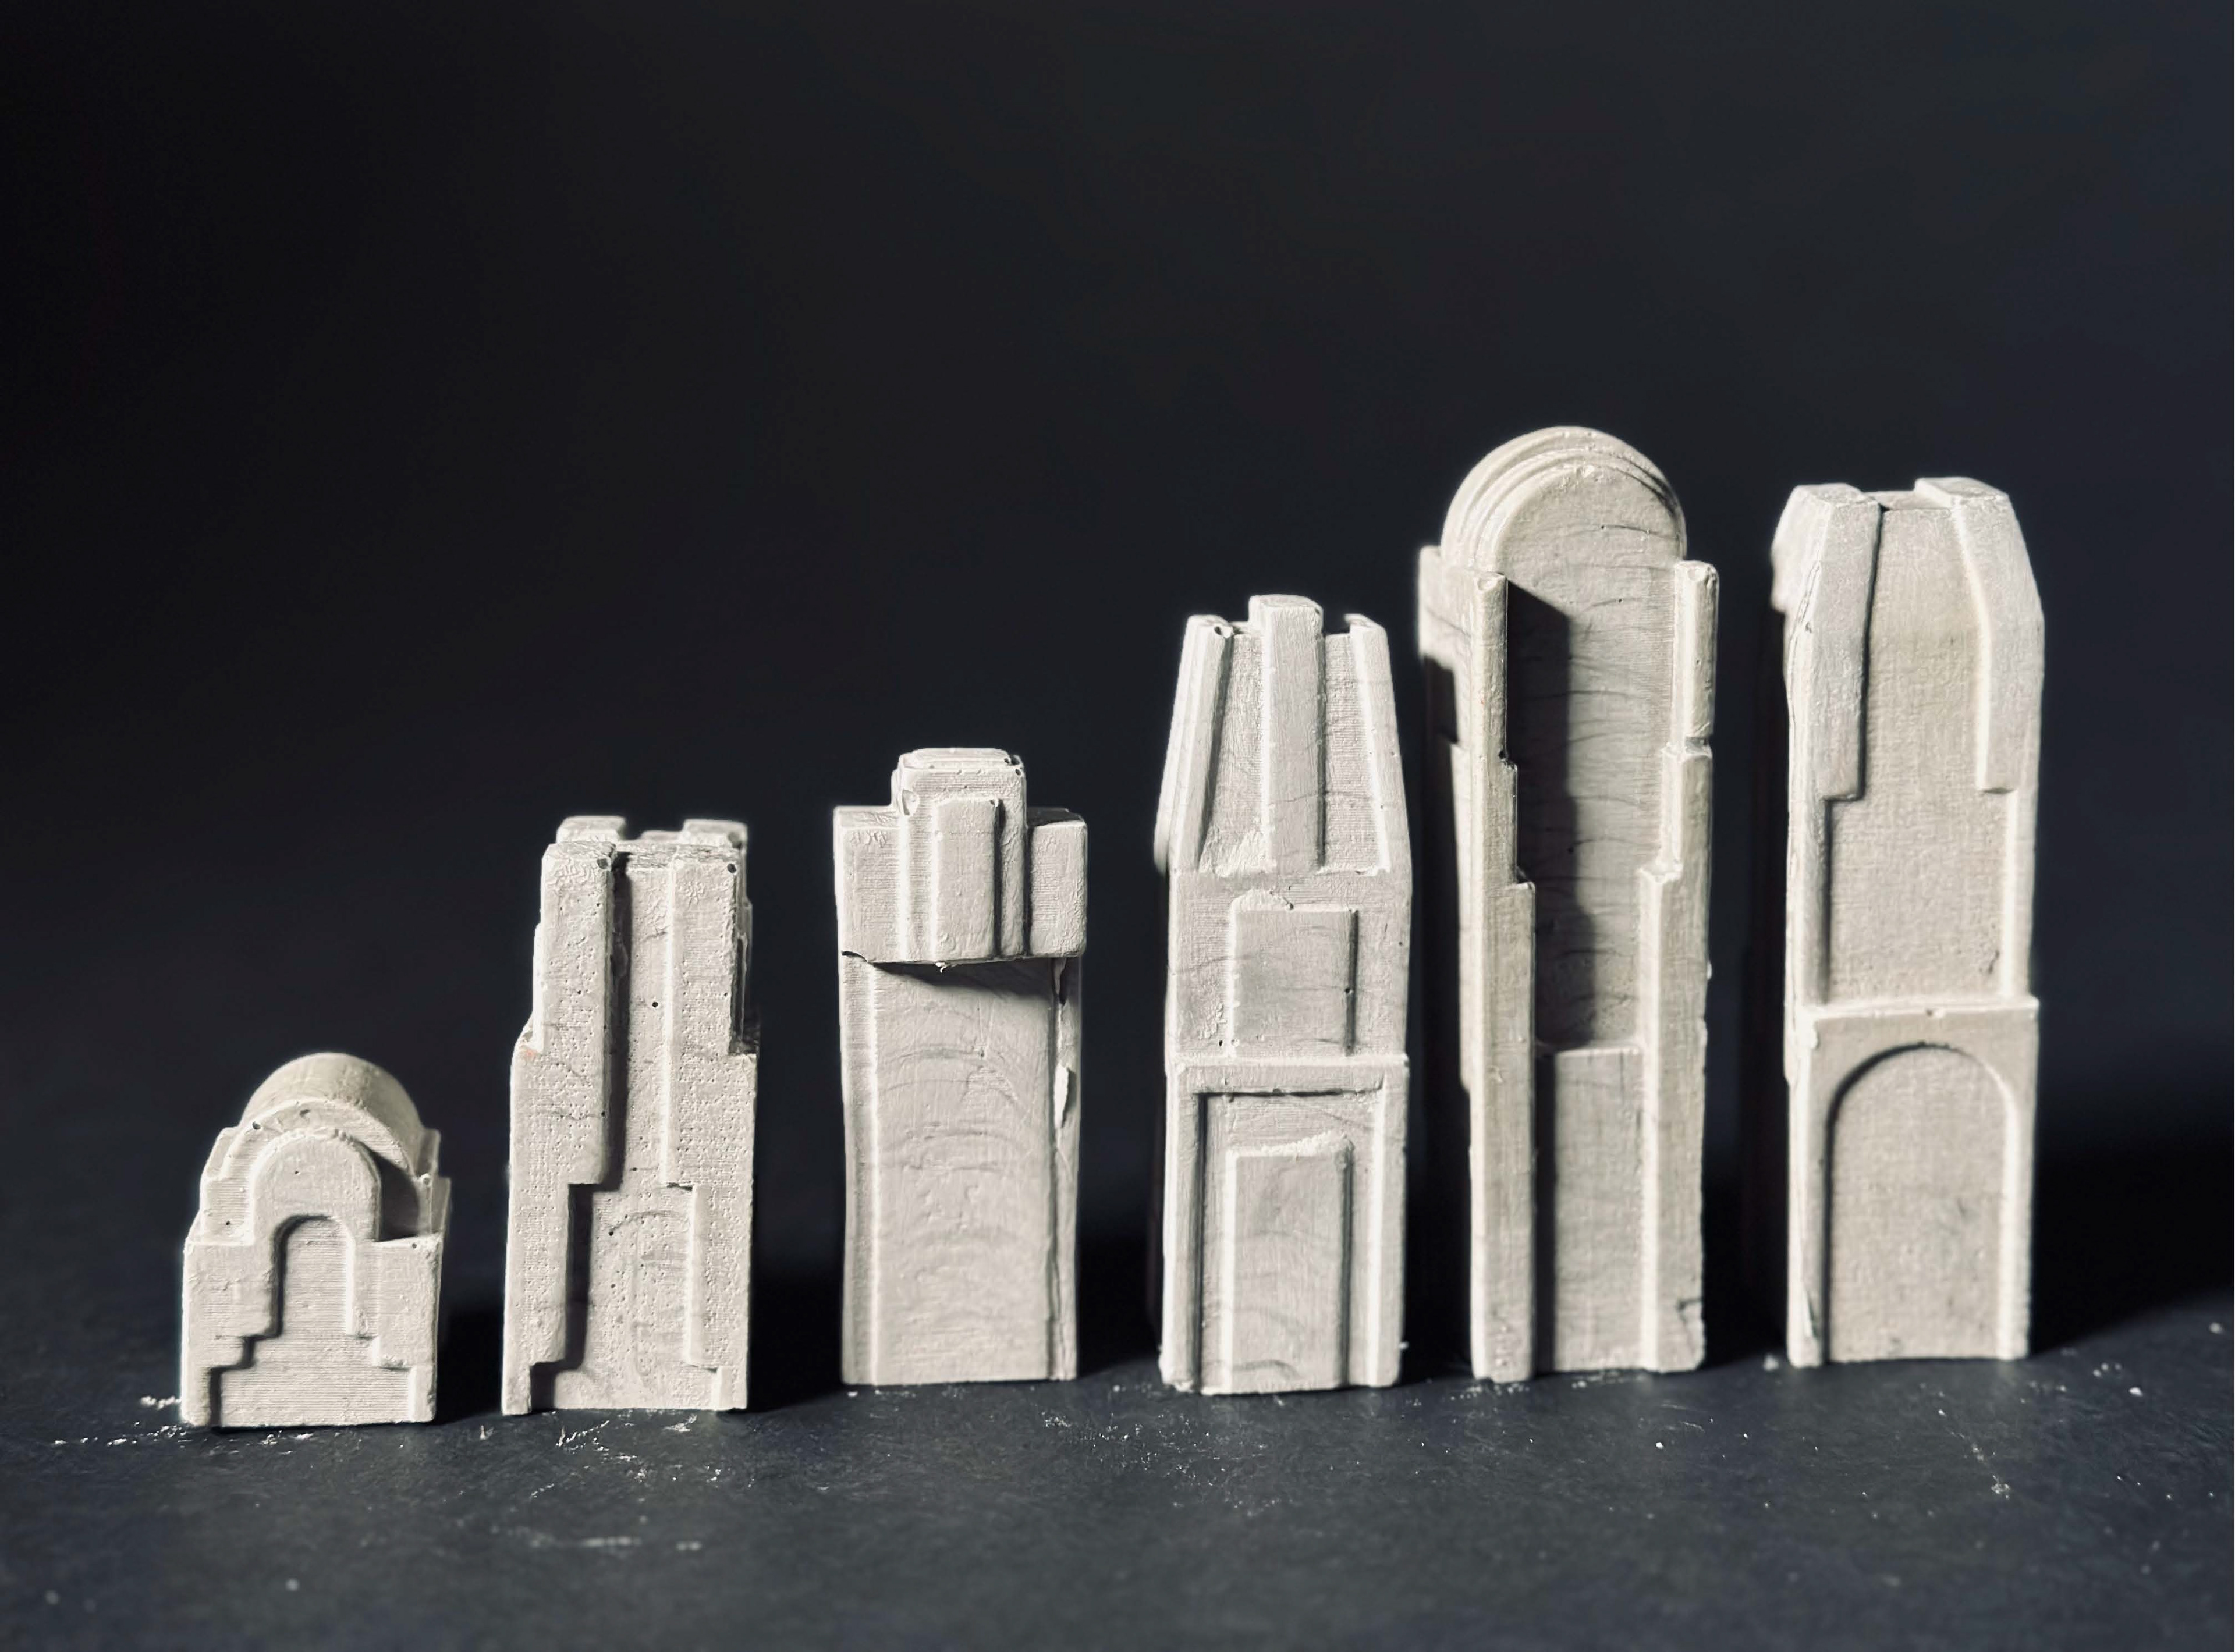
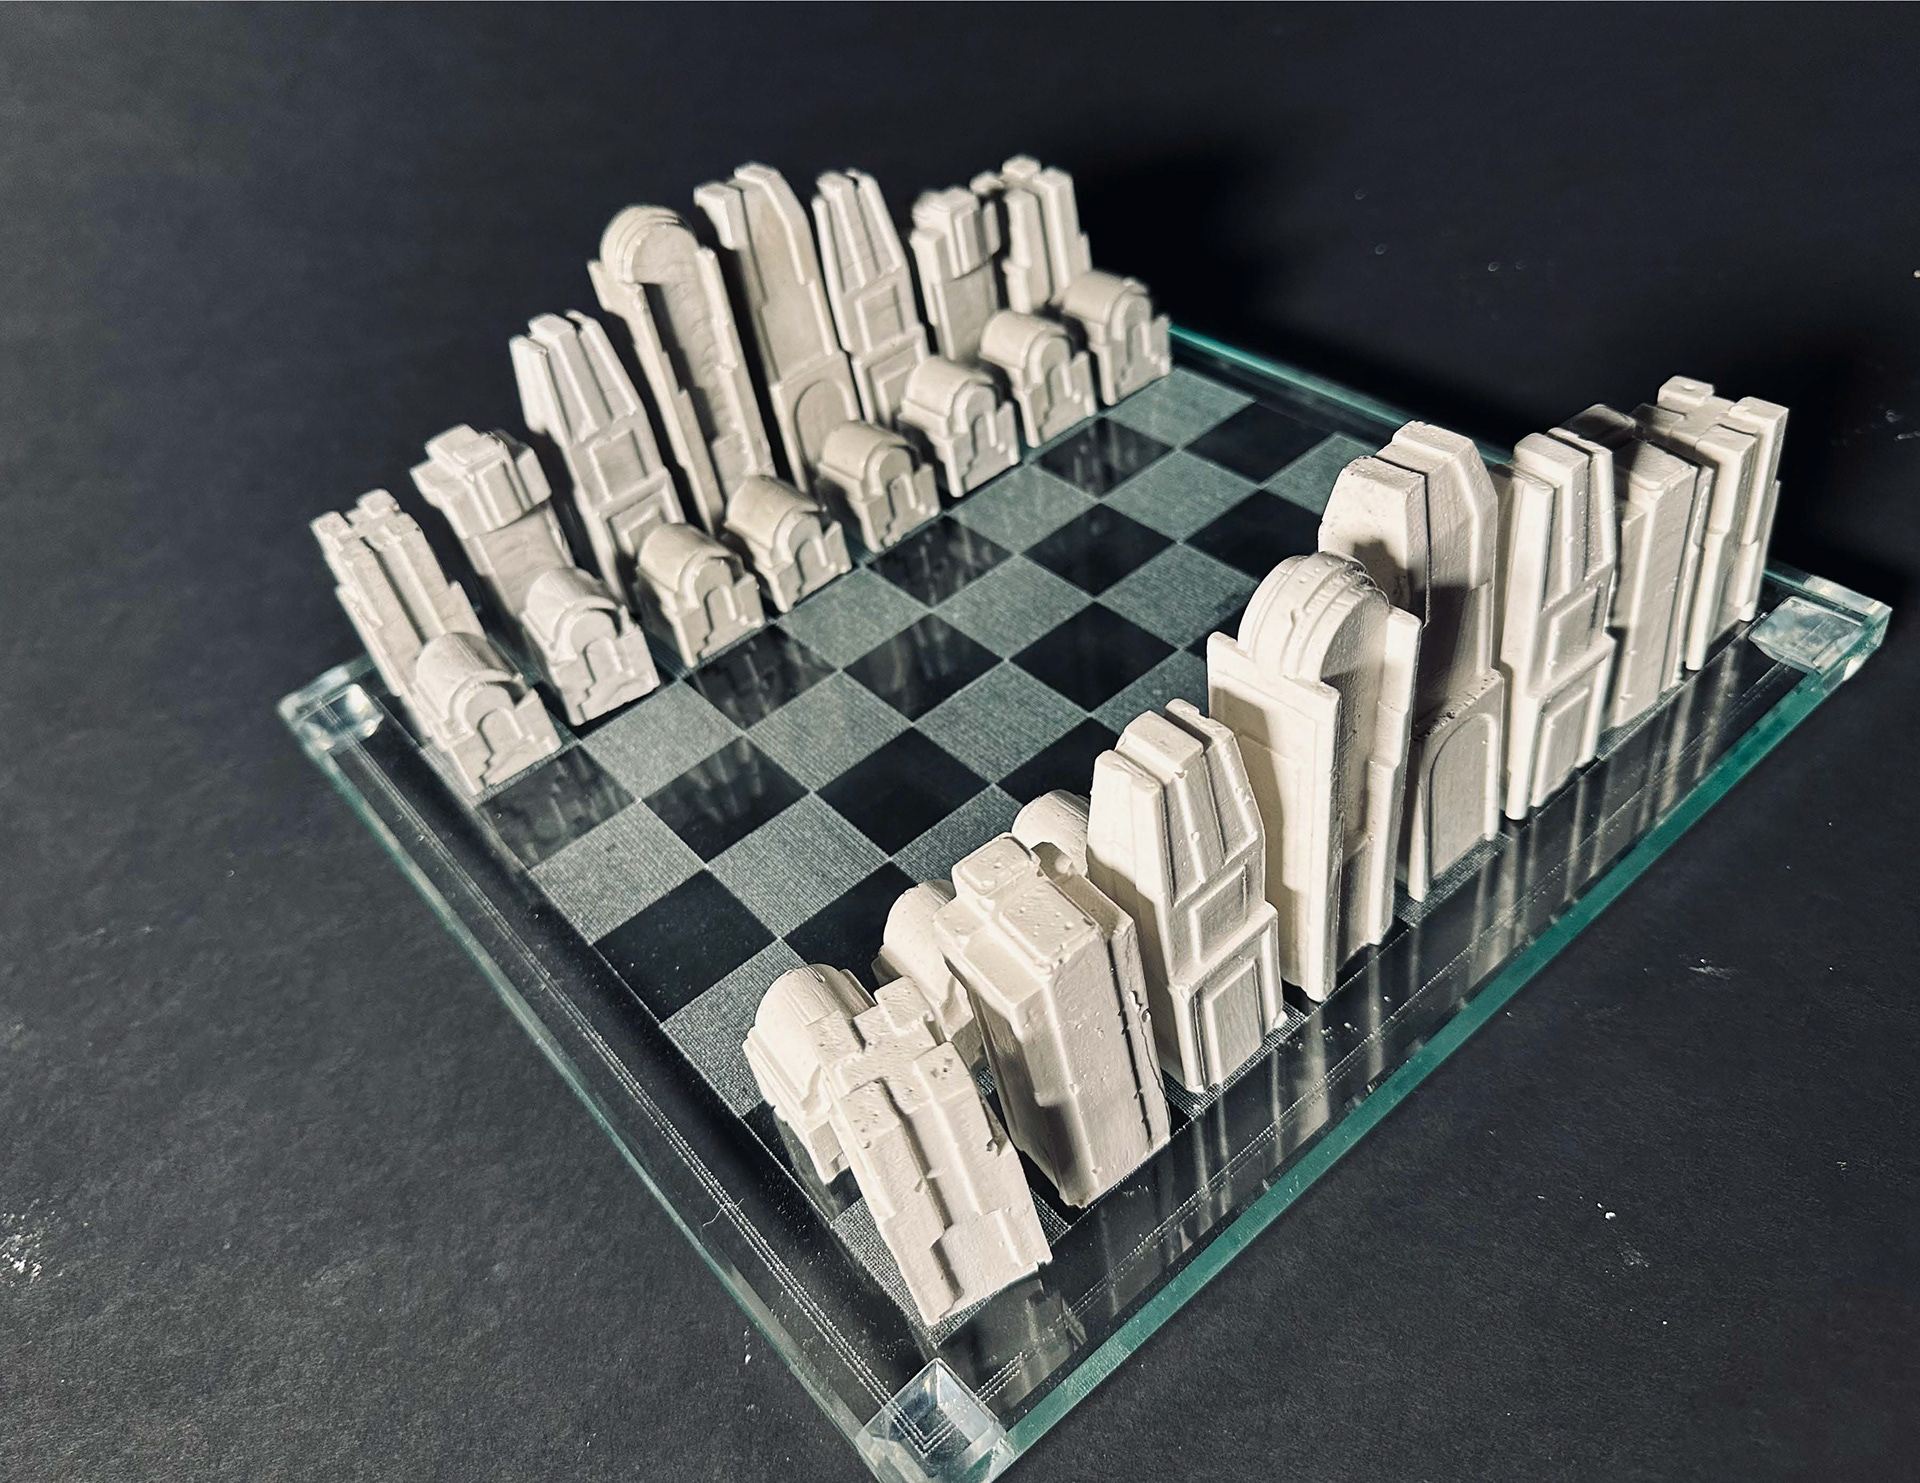
PROJECT GOAL: Design a family of chess pieces, focusing on materiality, form, craft, and communication.
PROJECT SKILLS: Sketching, Ideation, CAD Modeling, 3D Printing, Mold Making, and Casting.
IDEATION
At first, I wanted my chess pieces to be monolithic. So I created a mood board with images I was inspired by and created some thumbnail sketches.
LOW-FIDELITY MODELS
After my mood board, I quickly used foam to create simple mock-ups. I wanted straightforward pieces that were recognizable despite being small. I needed simplicity throughout, but also hierarchy.
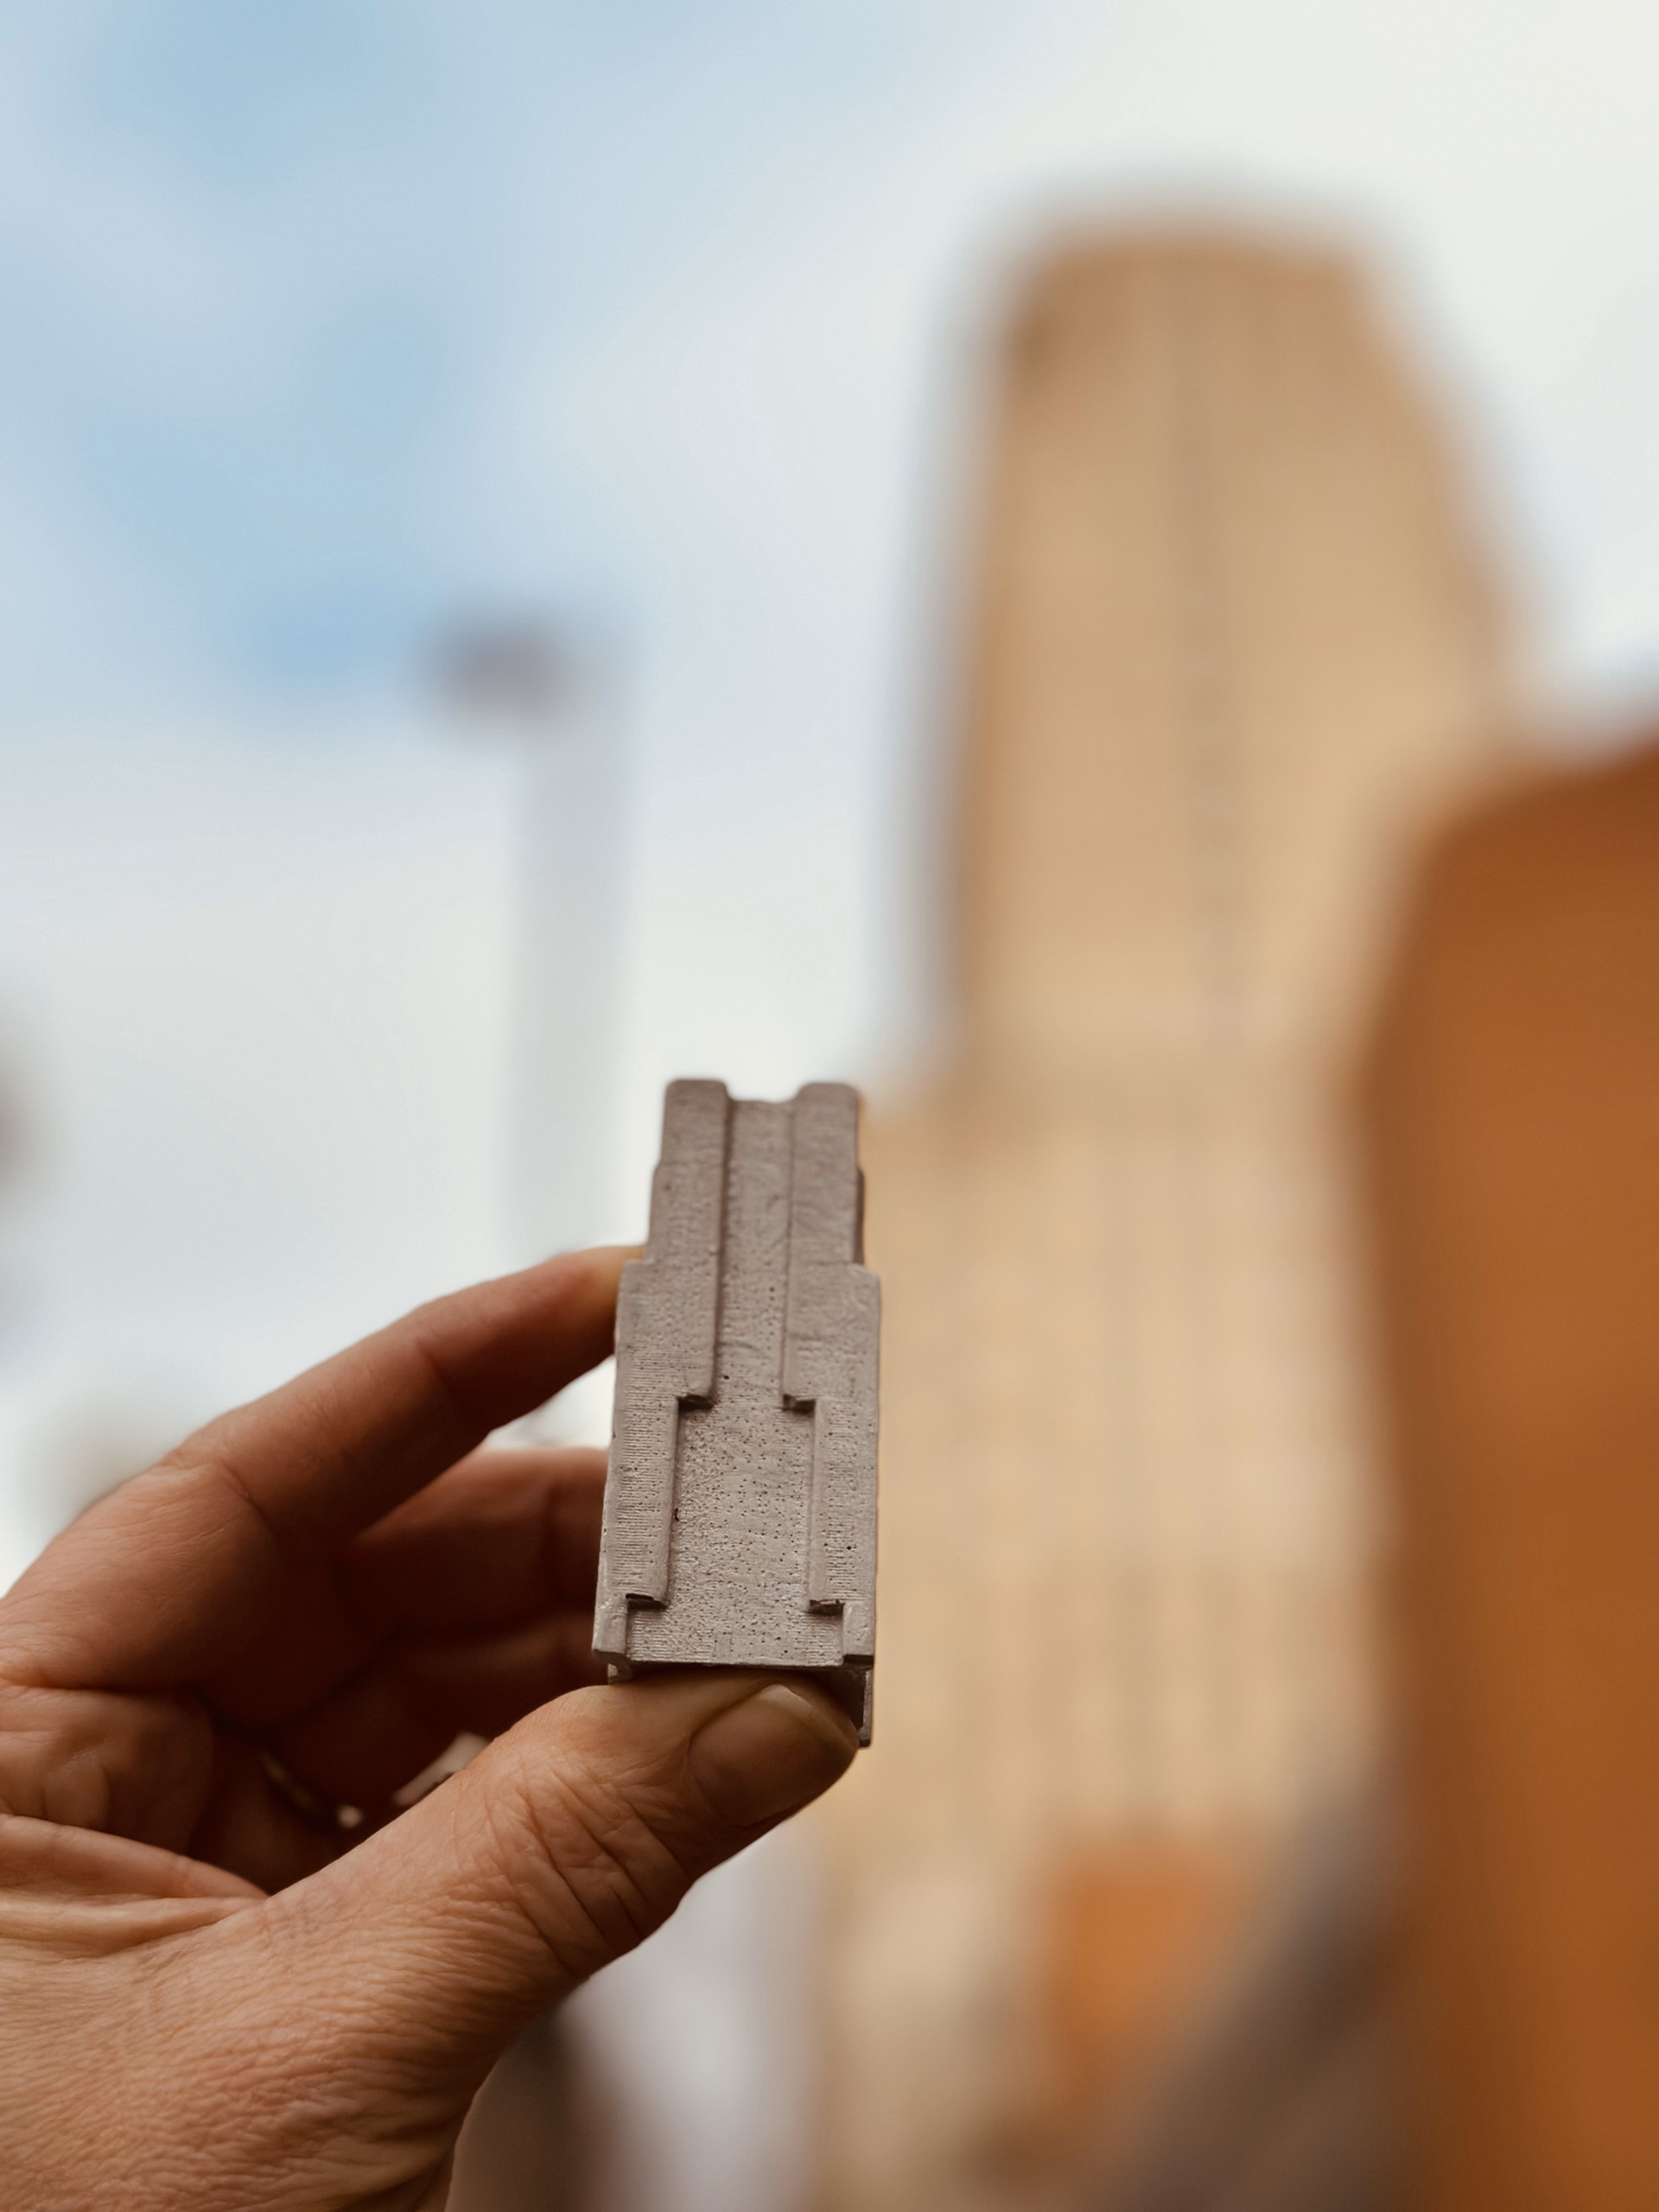
While getting feedback on my initial ideas, there was a comment about my Knight resembling Crosley Tower, and something just clicked.
INSPIRATION STRIKES
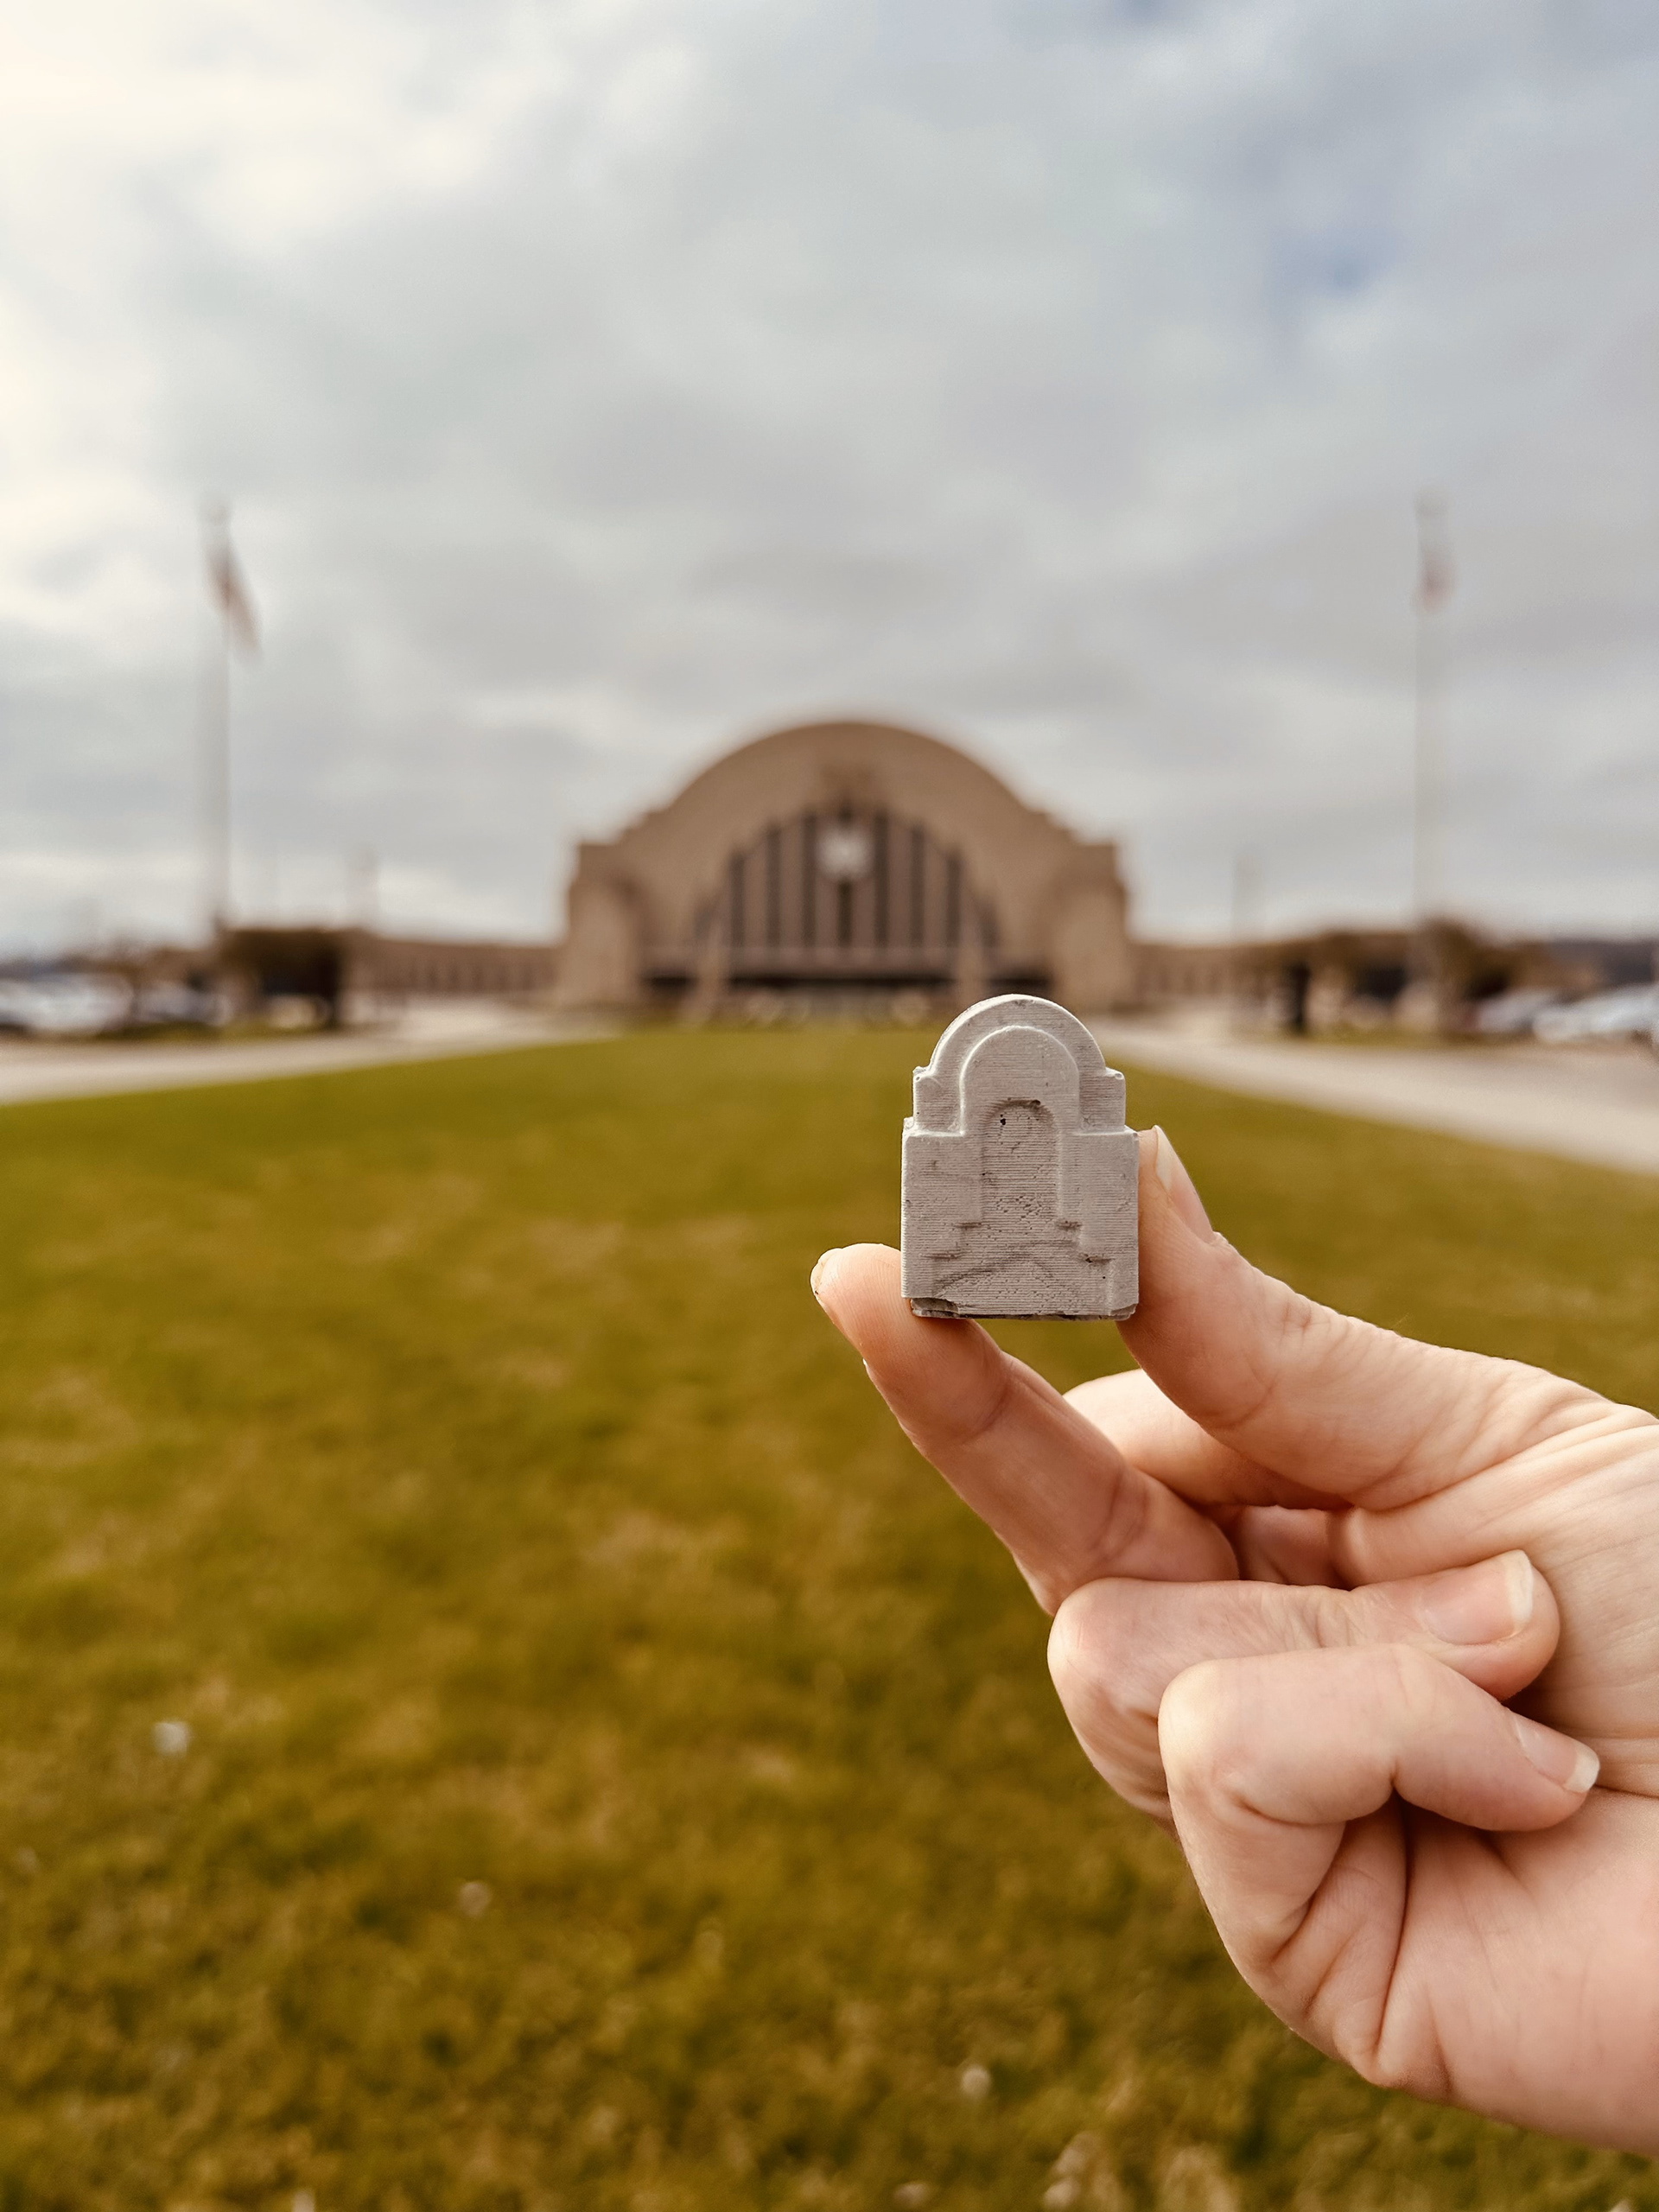
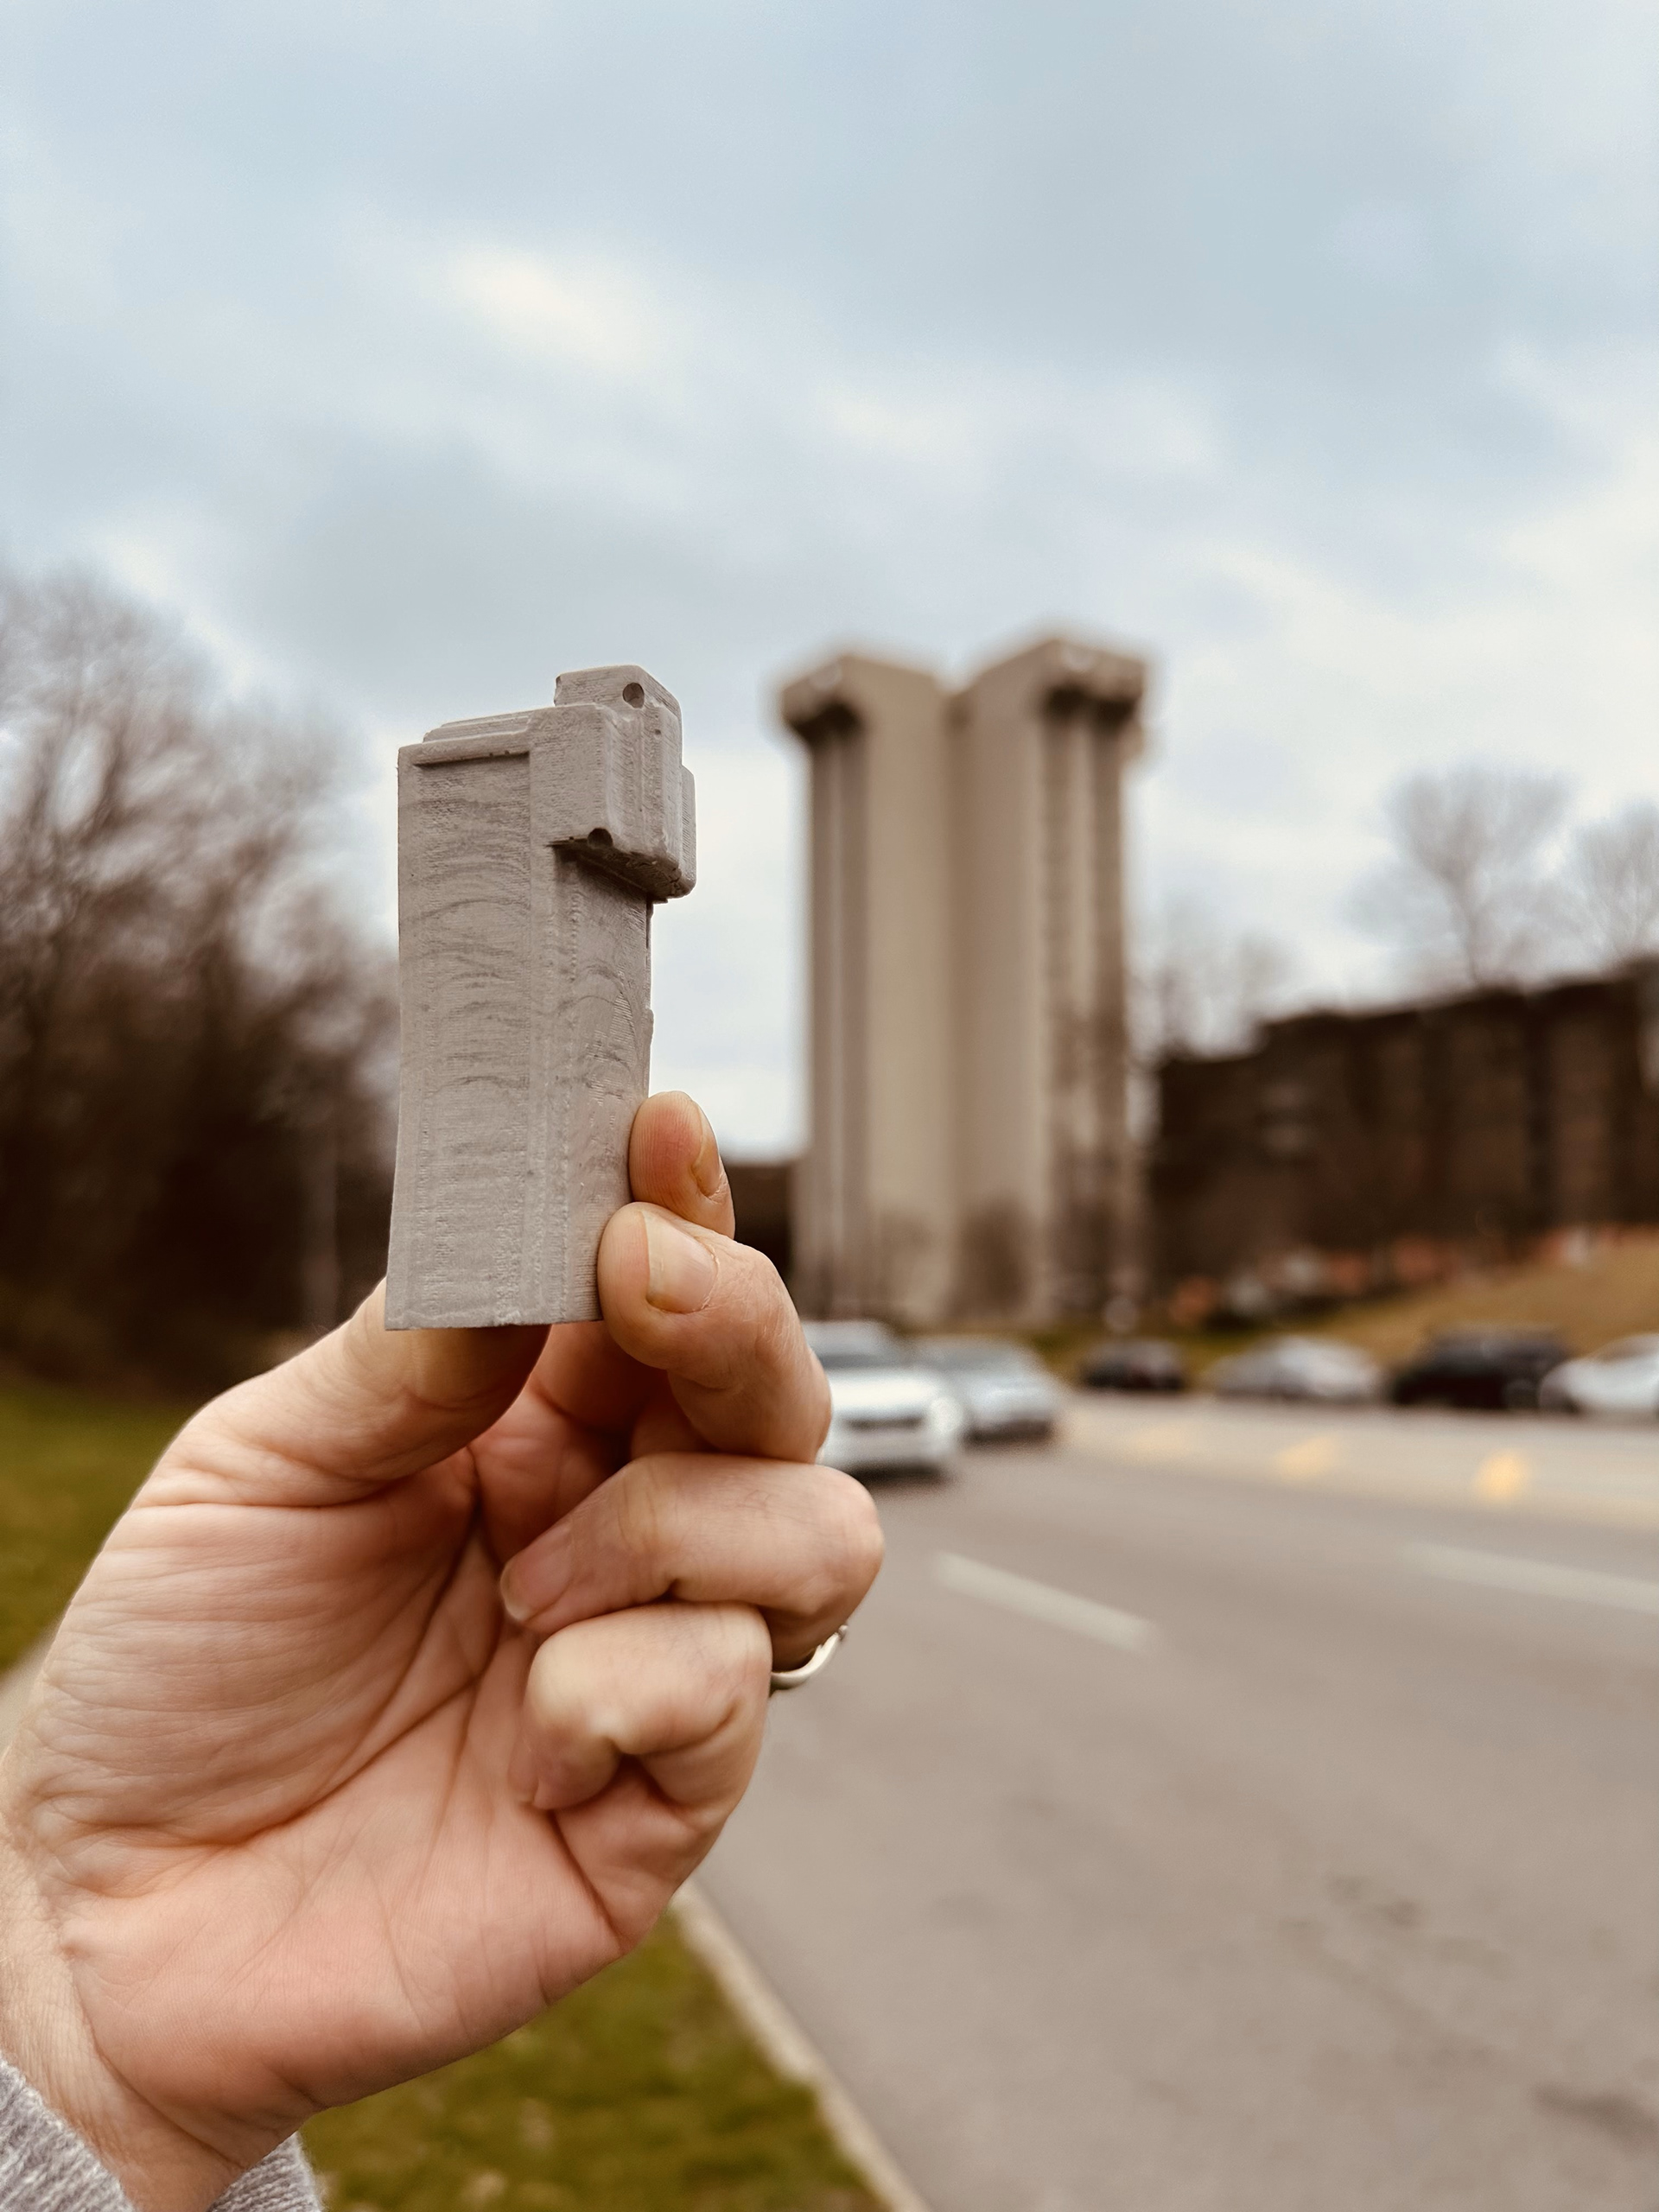
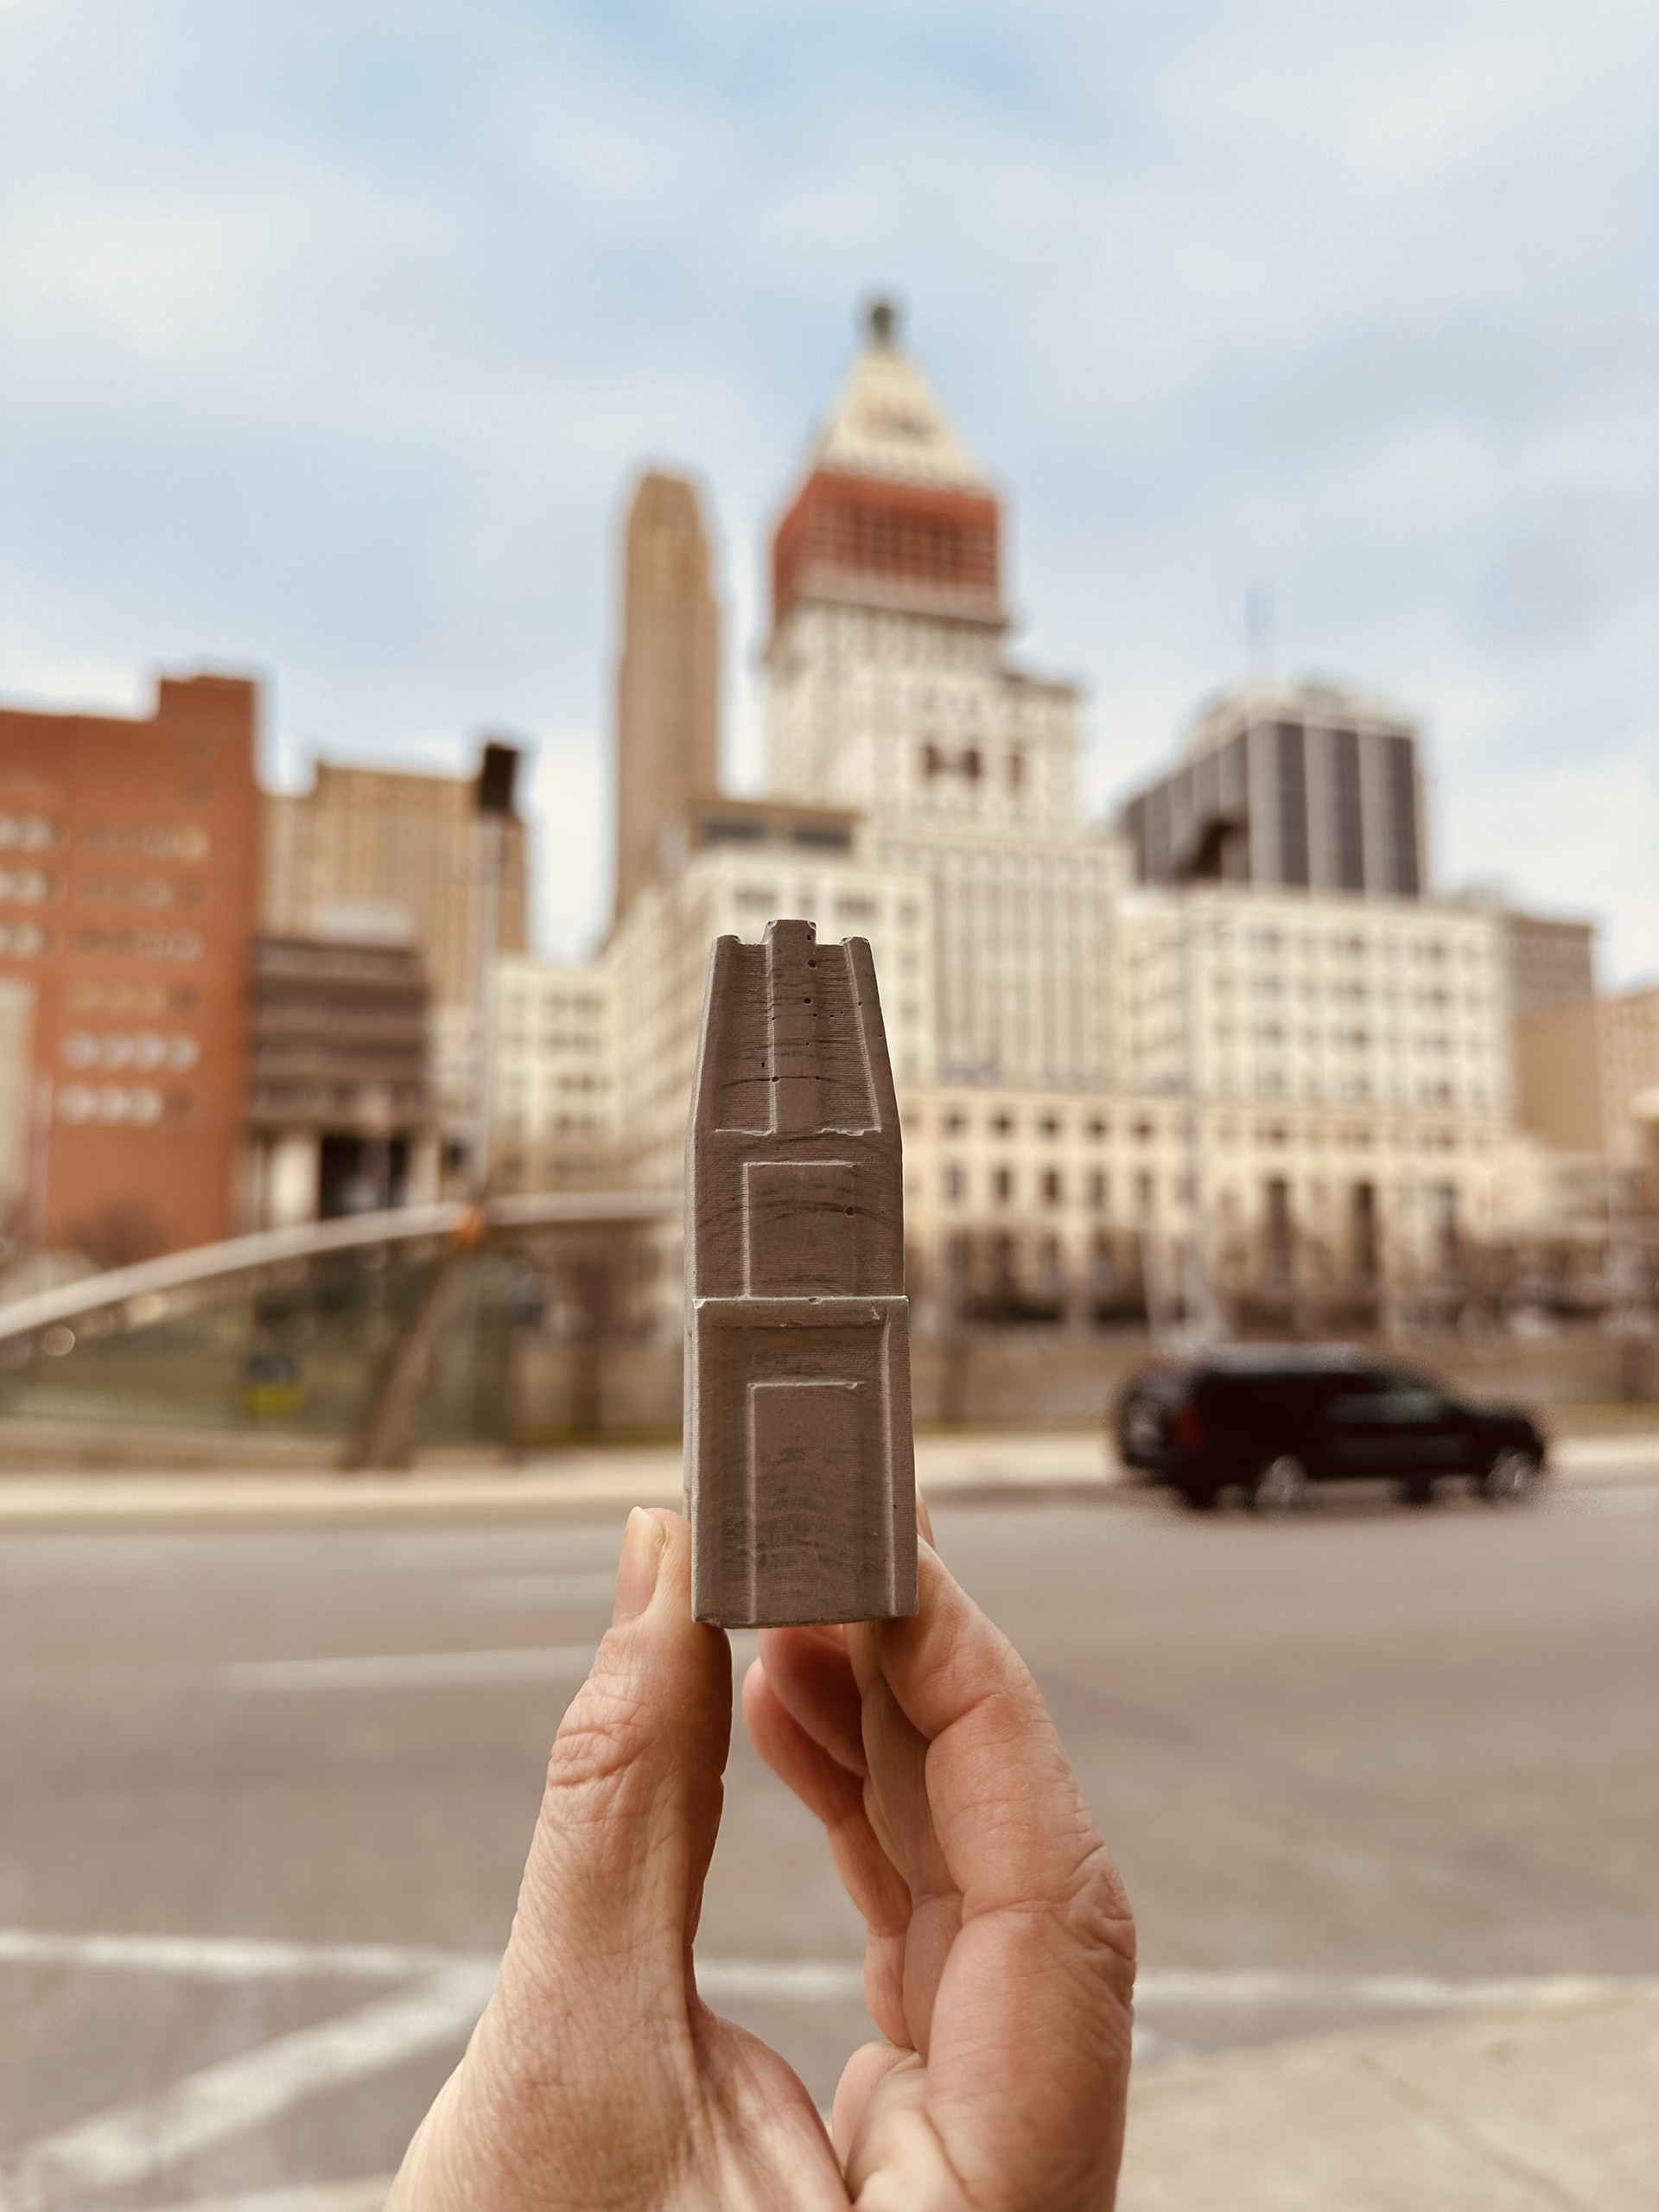
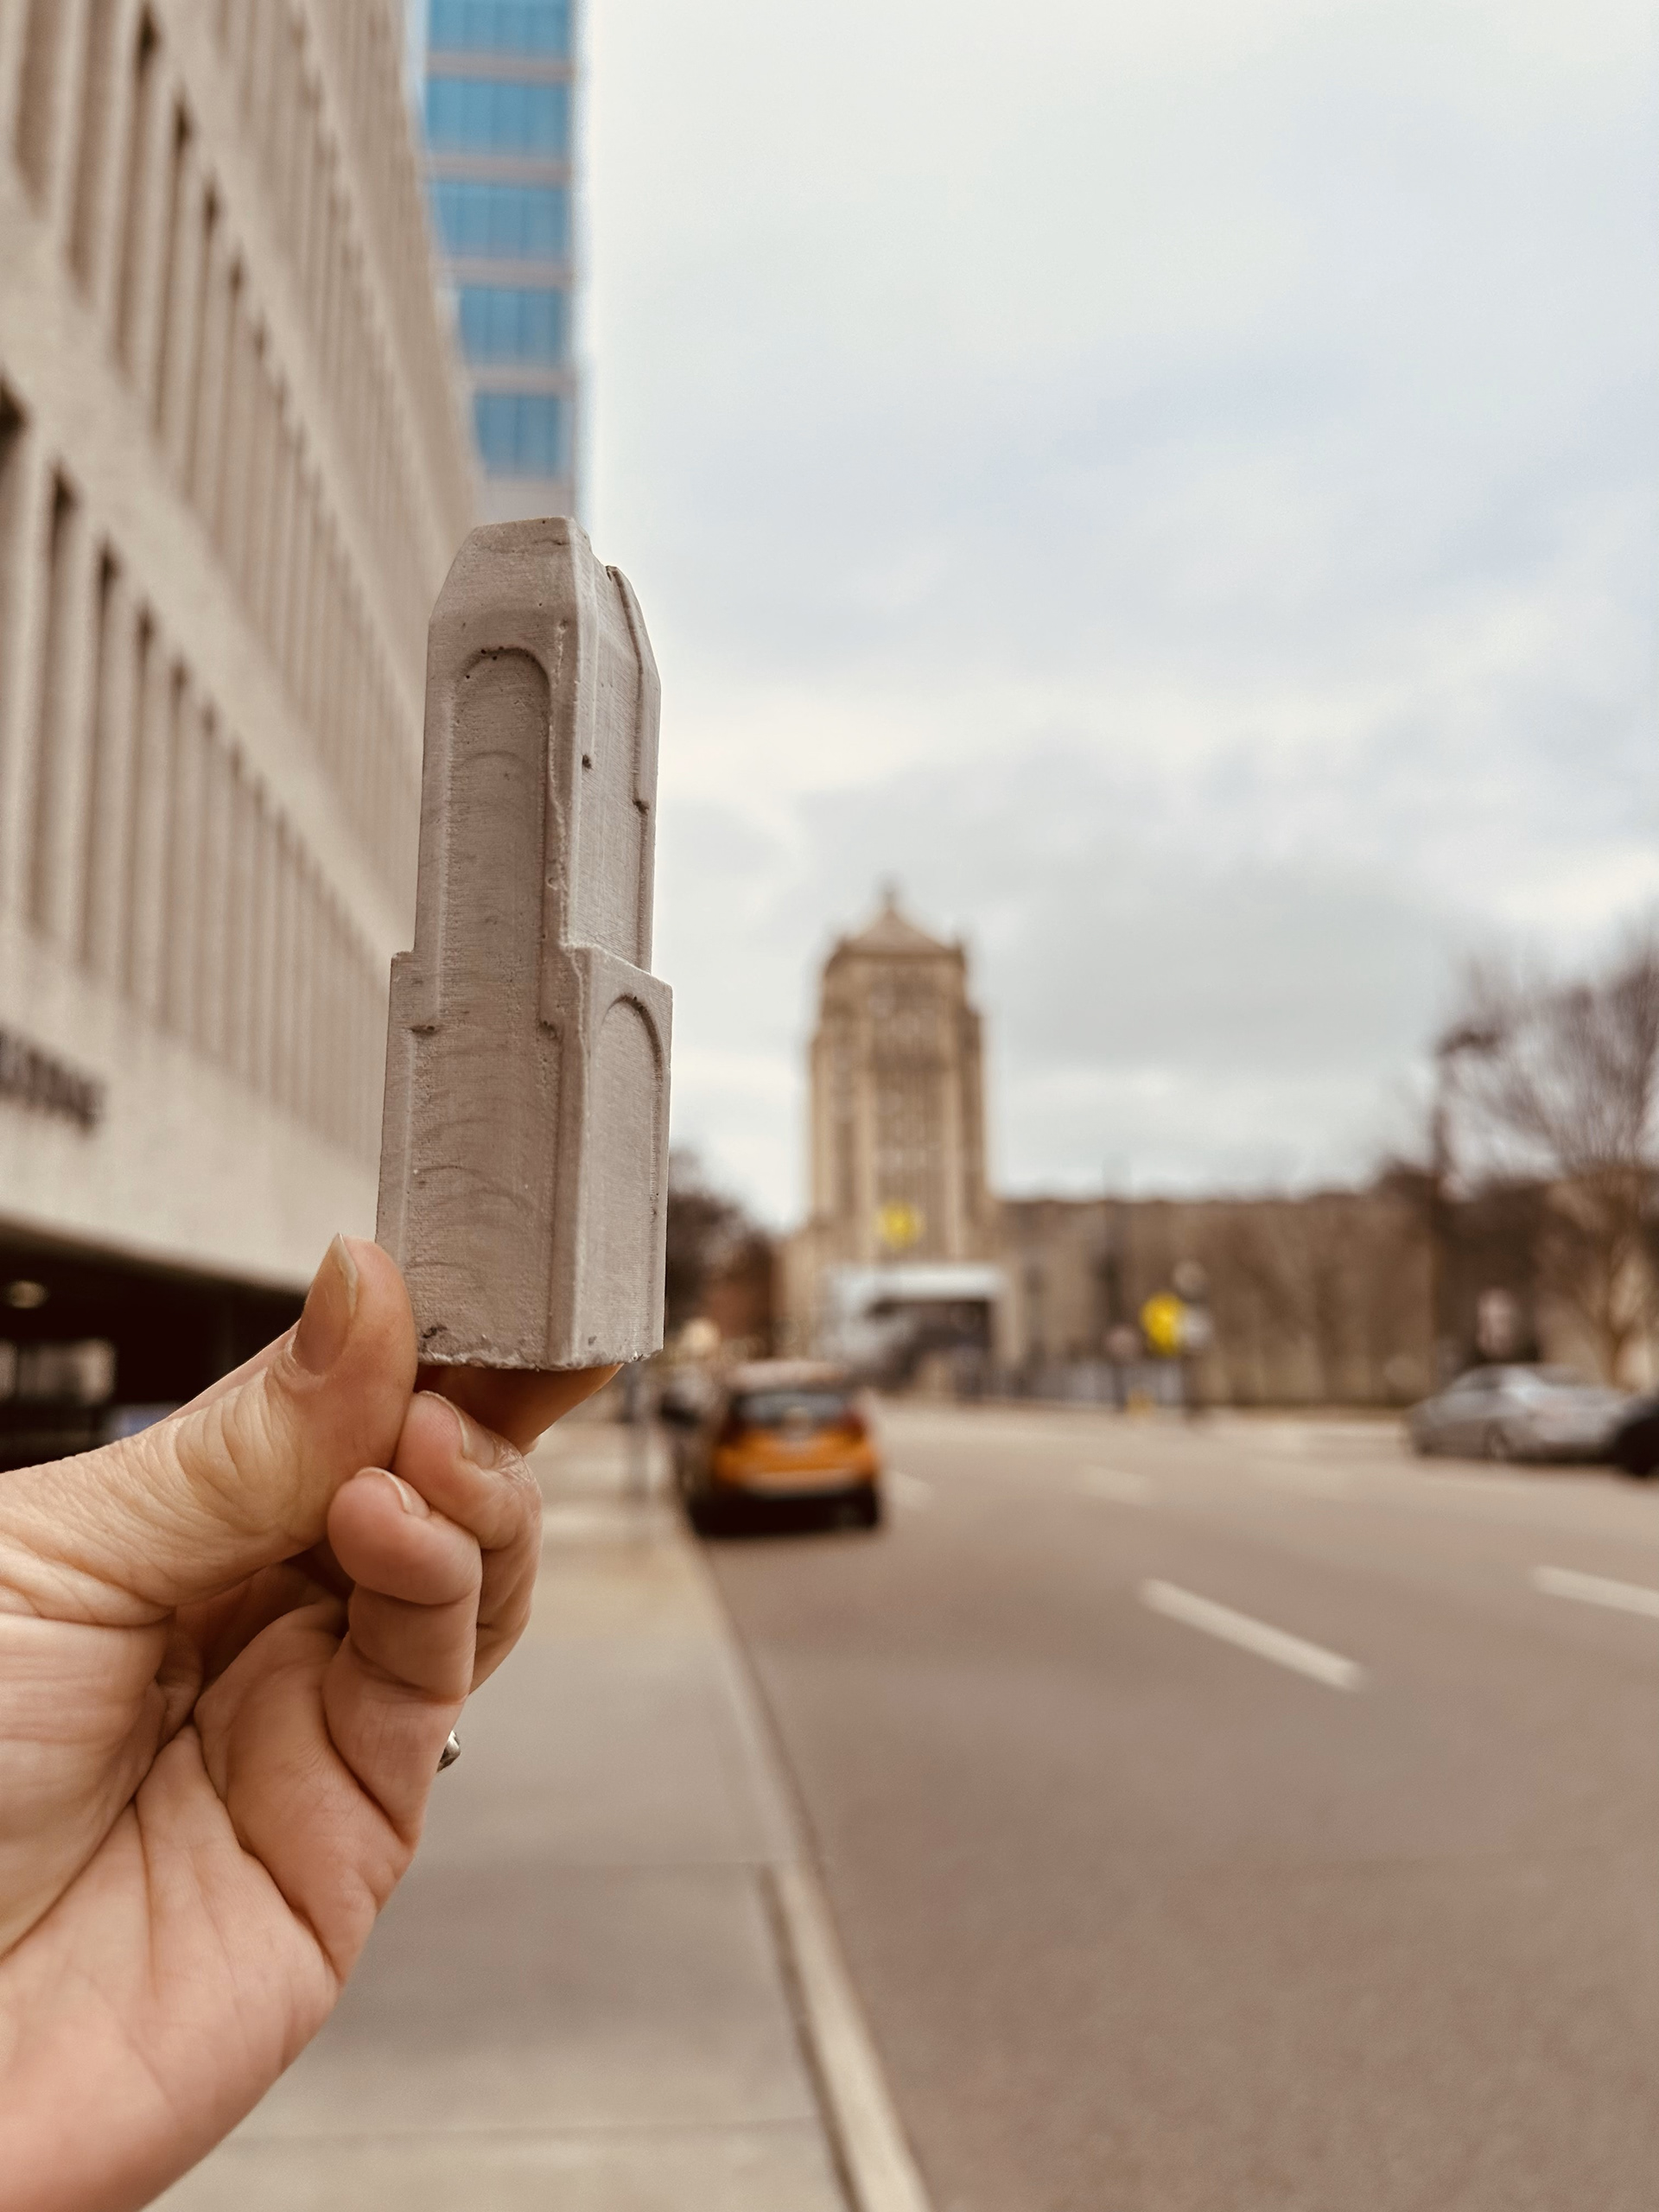
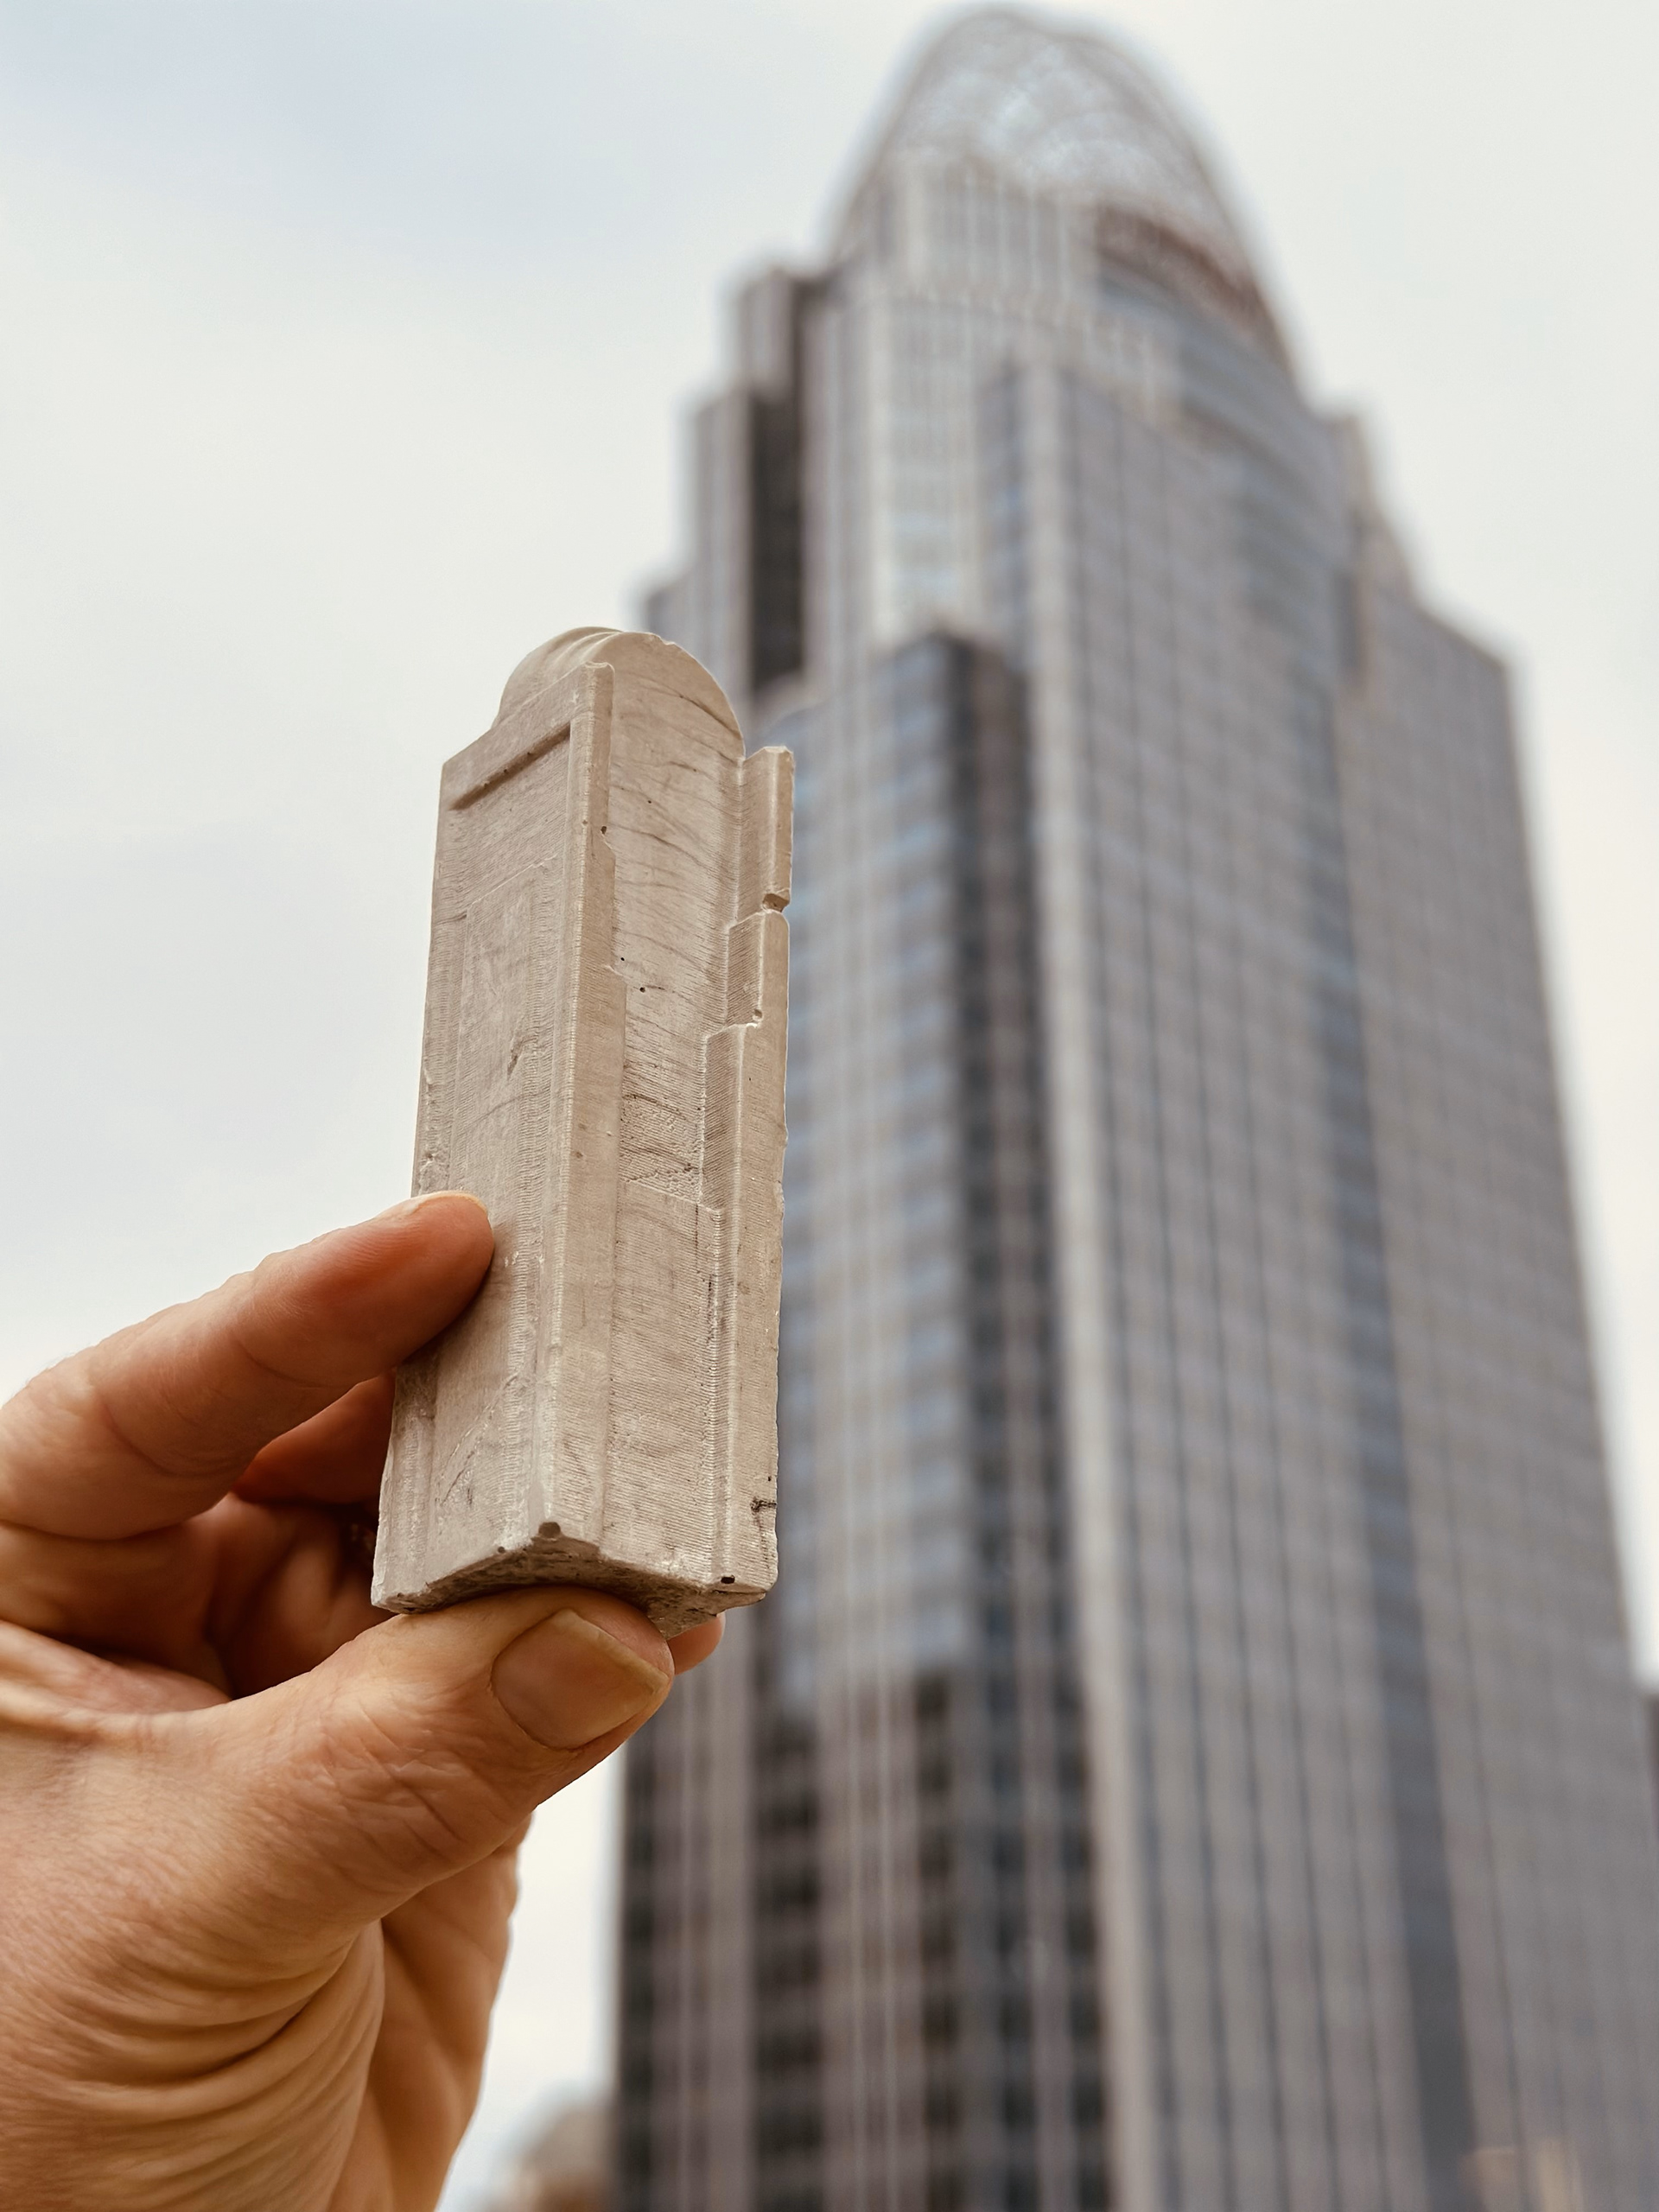
Growing up in Cincinnati, I am very familiar with the city, and I have such a love for the architecture surrounding me. I knew I could be inspired easily by any of the buildings downtown. I decided to focus on the Art Deco buildings since that style was very popular when Cincinnati was being built.
FIRST ITERATION
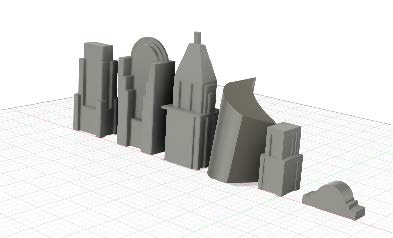
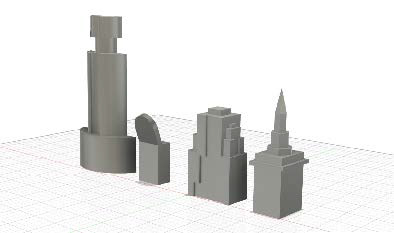
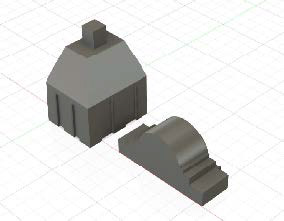
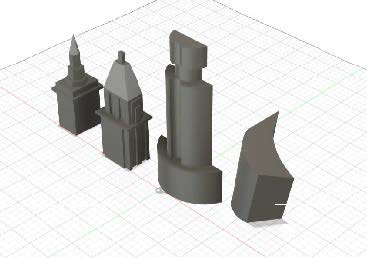
Early prototyping and iteration began by modeling the pieces in Fusion360 and utilizing 3D printers to be able to physically hold my models so I could decide my next steps.
SECOND ITERATION
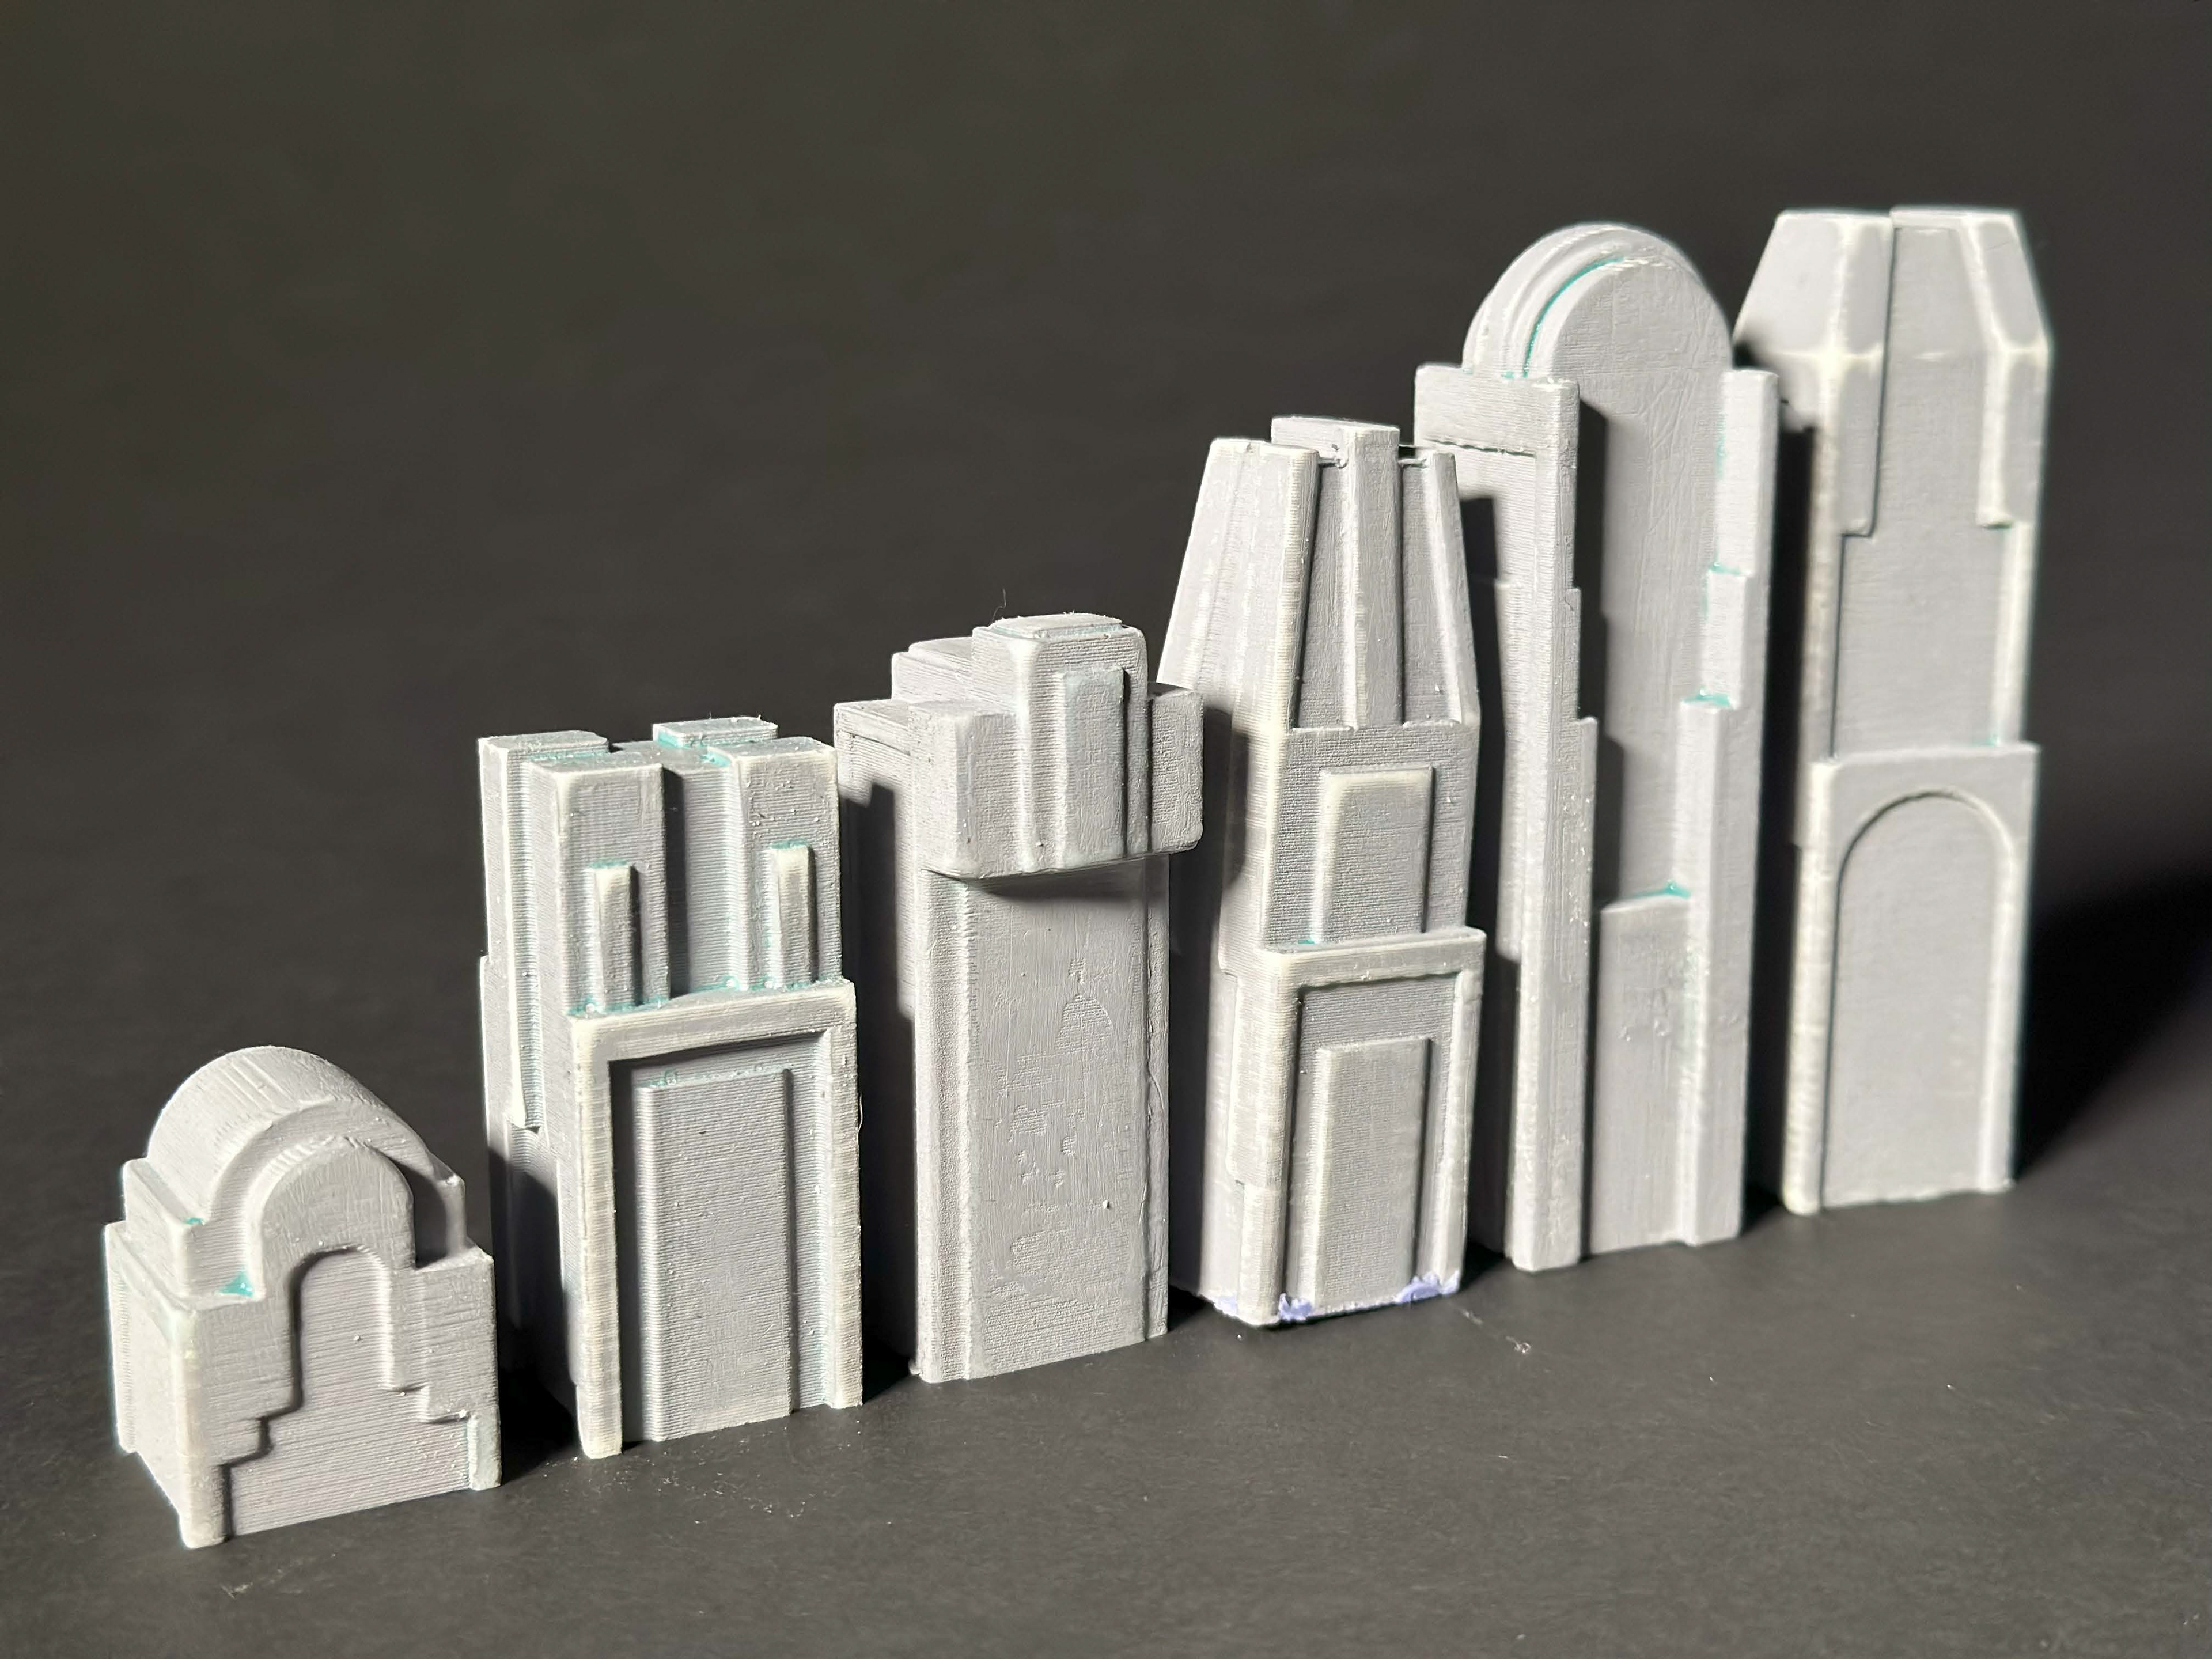
My first models were quite literal, and to bring in the monolithic aspect I still wanted to convey, I realized my pieces needed to be more inspired by the buildings and not mini versions. I began to play around while modeling more iterations of the pieces using heavy inspiration from the form of the buildings as well as from other Art Deco pieces.
FINALIZING AND PREPPING
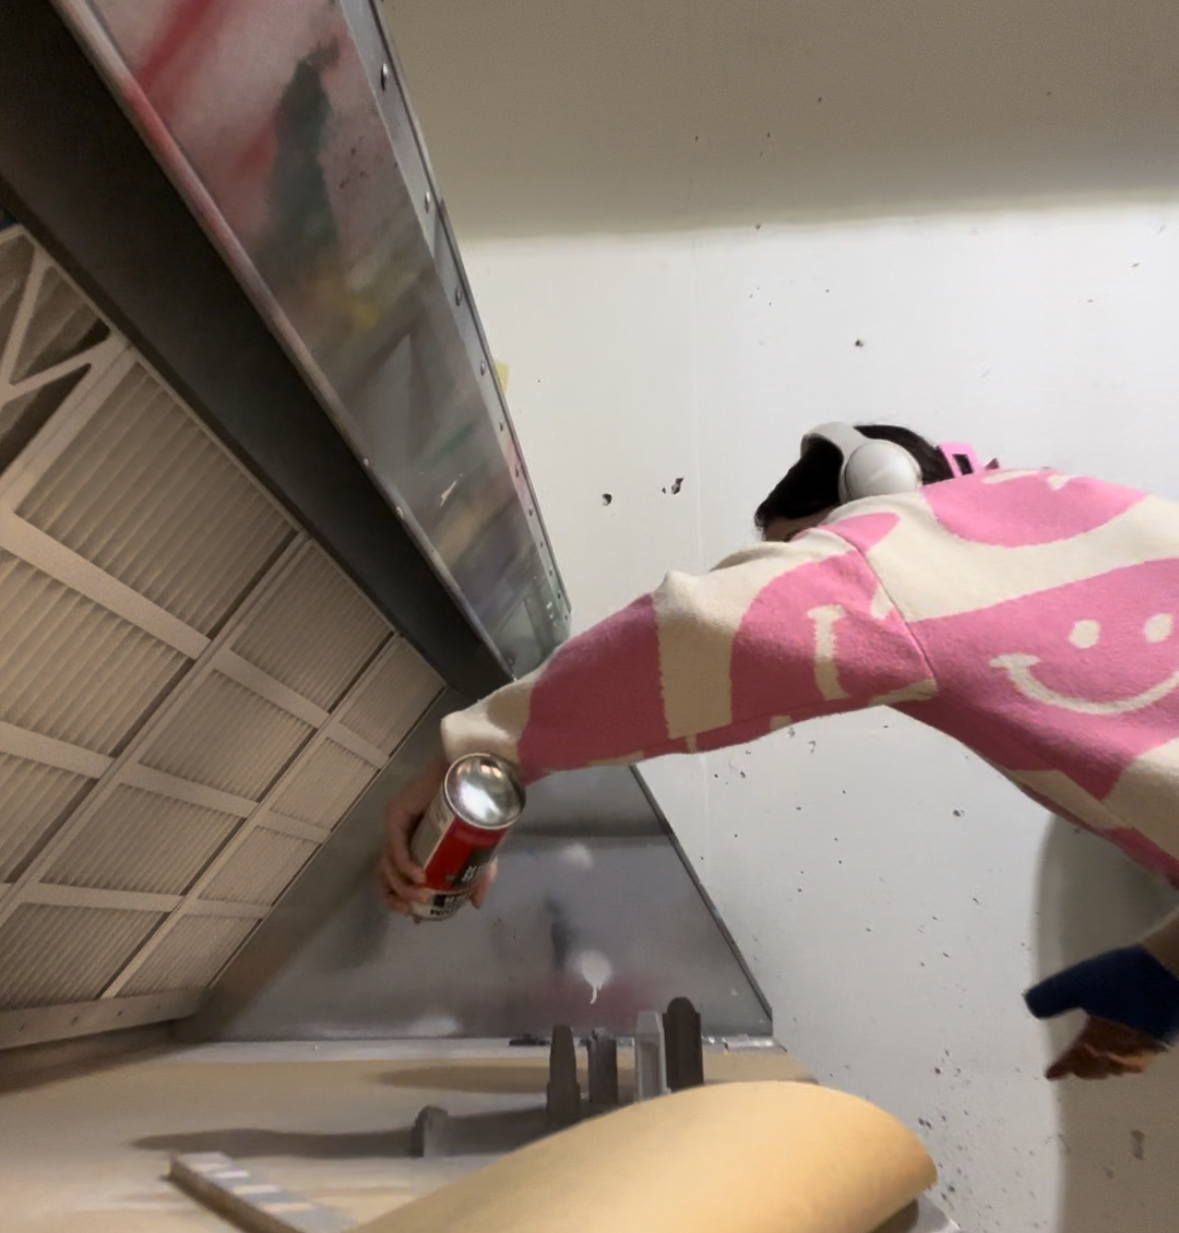
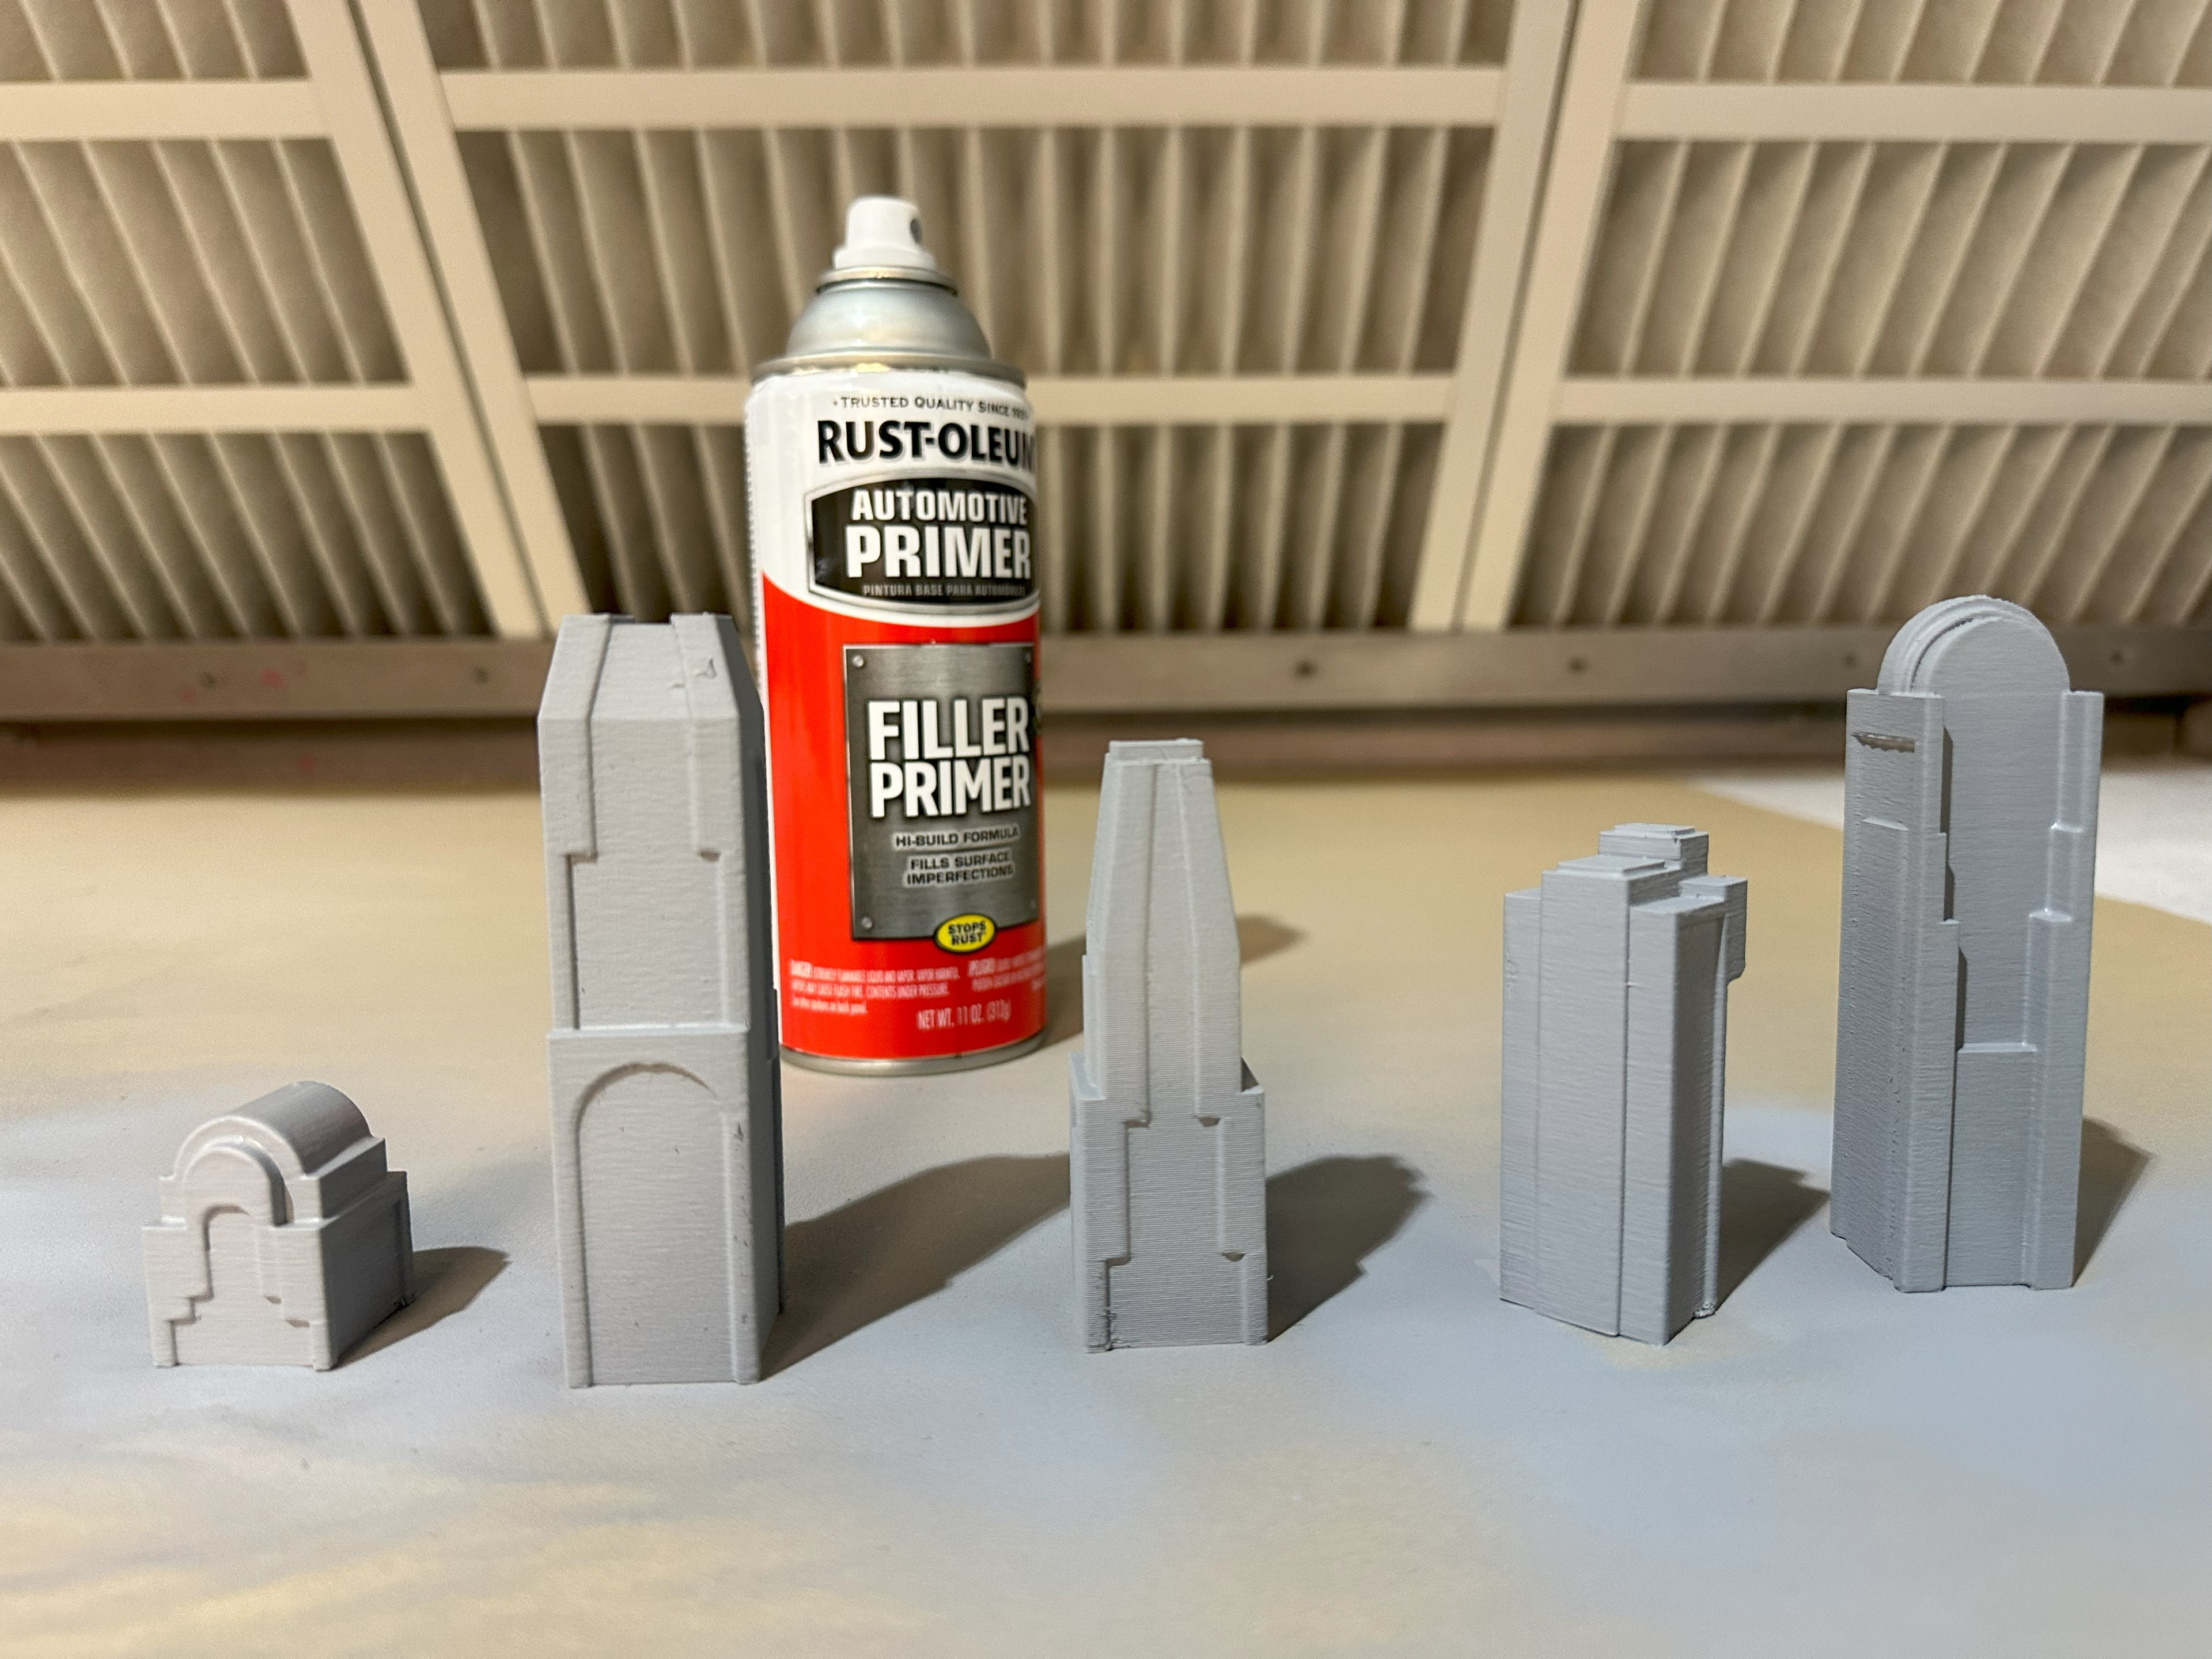
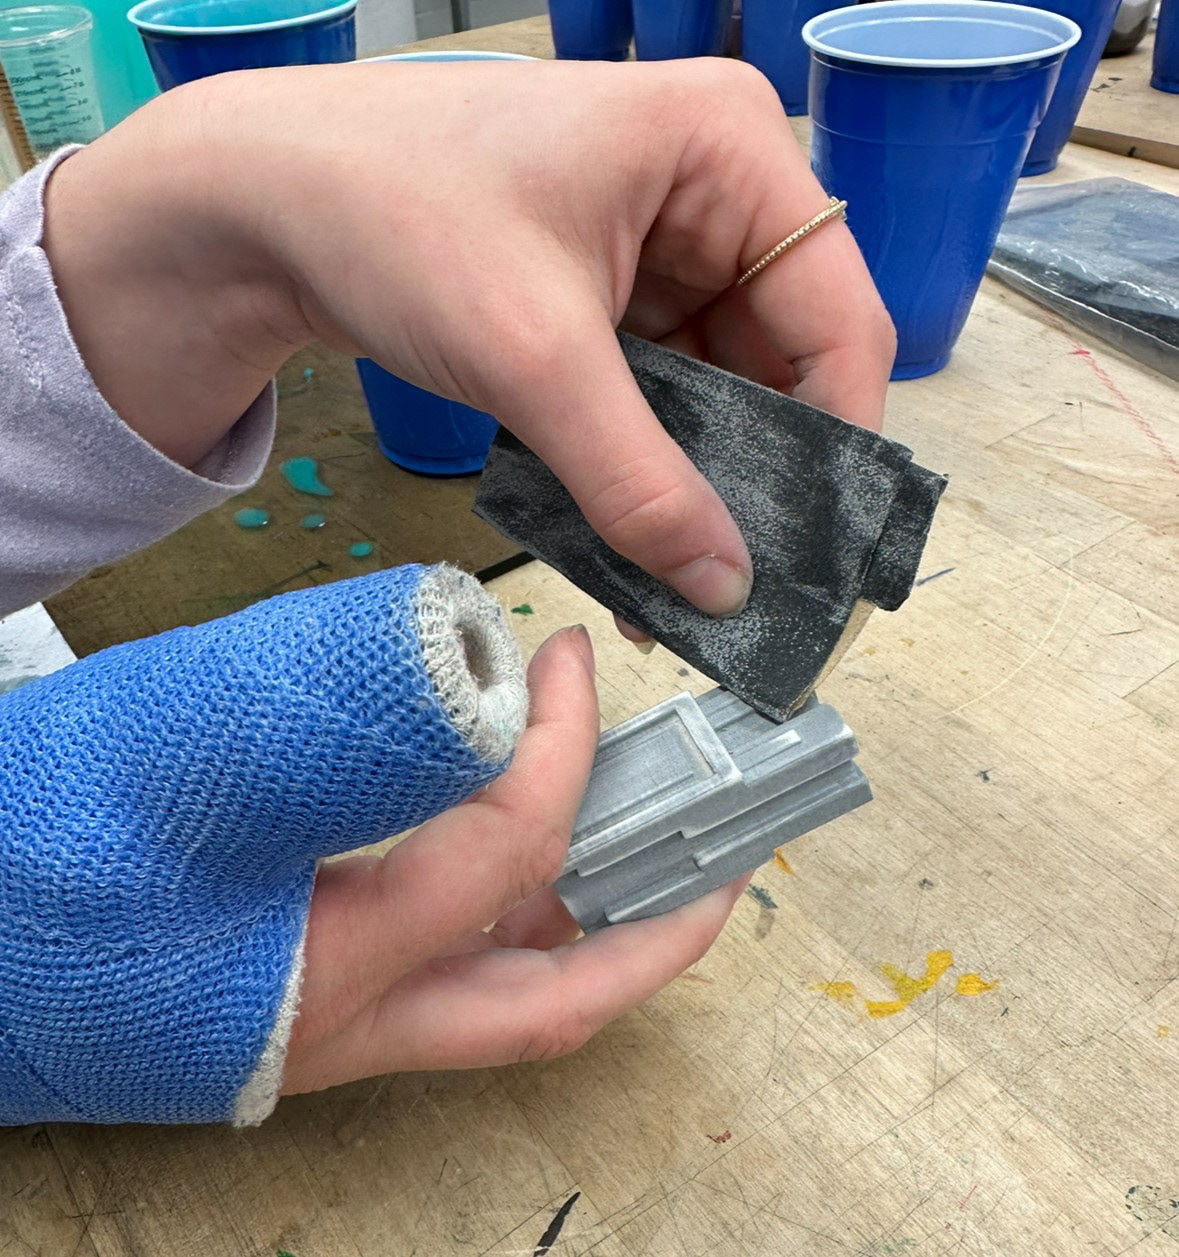
After a final iteration, I took my 3D-printed pieces and prepped them to be made into silicone molds. I sprayed them with 3 coats of automotive primer to help fill in the print lines. Then I sanded them down to be as smooth as possible!
MOLD MAKING MISHAP
I used carpet tape to stick my pieces to the bottom of solo cups to ensure they would not float up and that they would be easy to de-mold. I used up all my silicone and left them to dry overnight. But when I came back in the morning, they had only slightly solidified. The silicone was not going to cure and I had to start again.
MOLD MAKING & CASTING
One of my original molds was salvageable but I ended up needing two different kinds of silicone to complete all of them. I was able to only slice part of the way down my mold and still be able to extract my pieces.
I decided to cast my pieces in Rockite, a cement-like material. I wanted to contrast what materials are typically associated with Art Deco to give my pieces a rough kind of edge to them. The opposite side of my set, I cast in white plaster. I did this for color contrast, but also for weight. The rockite pieces are dense and heavy but the plaster pieces are light and cold.
FINISHING
After sanding my pieces, I sealed them with urethane to give a shiny finish different than that of most cement buildings and products. I wanted them to appear rough but feel smooth and slick.
CHESS BOARD
Although it was not a part of the project, I wanted to go the extra mile and make a board for my set. I used a piece of recycled glass and created a file in Adobe Illustrator so I could laser etch the pattern onto it.
FINAL PHOTOGRAPHS
Images of my pieces together and individually in front of the buildings downtown, which they were modeled after.
